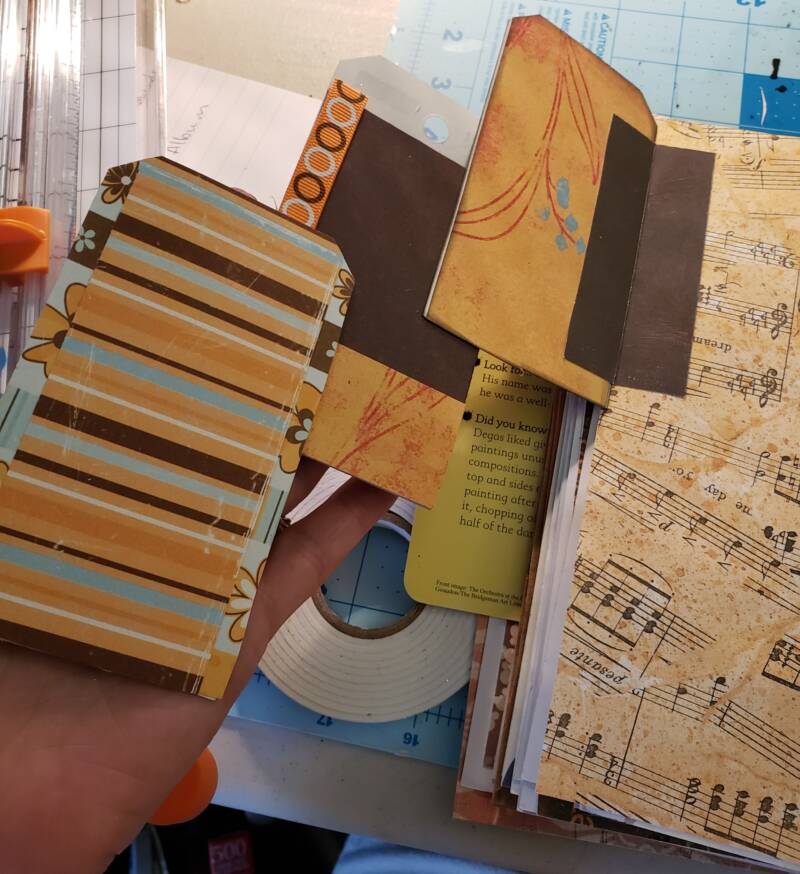
A junk journal is similar to a scrapbook in that it can contain similar elements; however, in a junk journal, you can transform paper scraps, bags, envelopes, book pages, old buttons and many other items that might be thrown away into beautiful embellishments and pages. Today, I used three tags in my stash that were fine on their own, but they have been languishing, so I decided to make them more interesting by creating a flip-out door for the junk journal I am working on.
Supplies
3 large tags that fit inside the journal
Embellishments
Double-sided tape
Color-coordinated scrapbook paper
Instructions
First, make the paper selections. Use scraps if you have them. You will need:
- 3 tags of the same size
- 3 – 6 pieces of coordinating scrapbook paper
- 1 piece of solid scrapbook paper or cardstock for the door hinge and the window box
- 1 image that is a good size for the window tag (I used a butterfly image from a scrap piece of scrapbook paper)
- Various coordinated scraps for embellishments
Next, cut all the pieces to size:
- Fussy-cut the image you selected and set aside.
- Cut the scrapbook paper to the same size as the tags. If the tags are already decorative, you can skip this step.
- Cut the window piece that will attach to one of the tags. Cutting this piece depends on the size of the tag. The width should be the same because you will fold it to form the flaps to attach it. The height should measure from the bottom of the tag up to the first corner. The resulting shape will be a rectangle.
- Cut down any of the scrap paper to use as embellishments
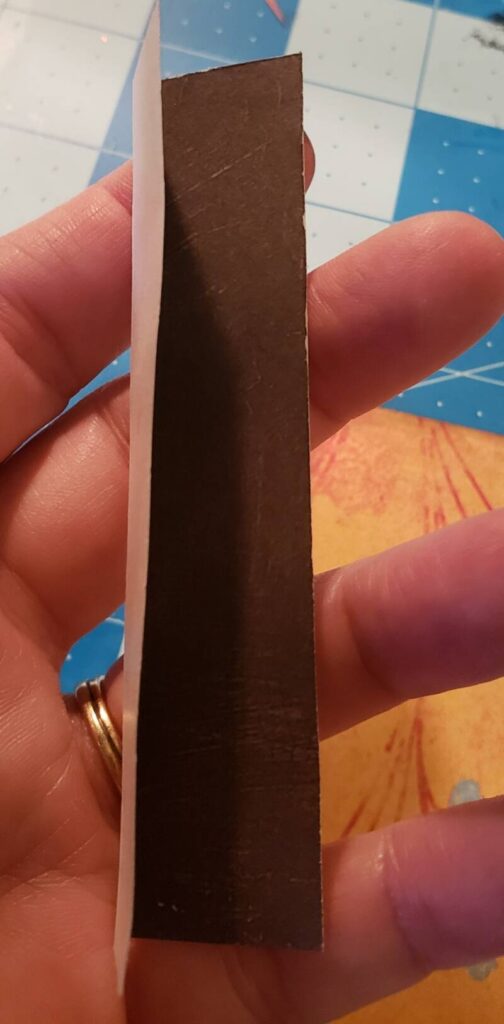
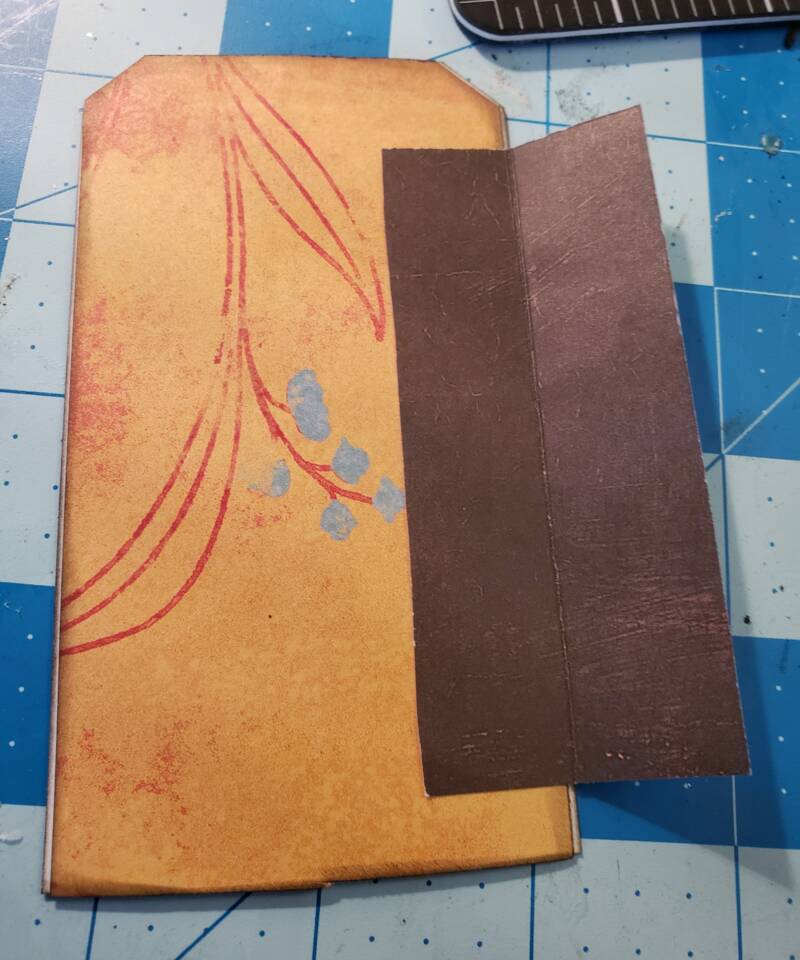
- Cut a 2″ x 4″ piece from the solid cardstock for the hinge.
Now that all the paper is cut, score the 2 ” x 4″ piece down the middle and fold. Burnish the edge down with a bone folder or popsicle stick so that the crease is flat. Set aside
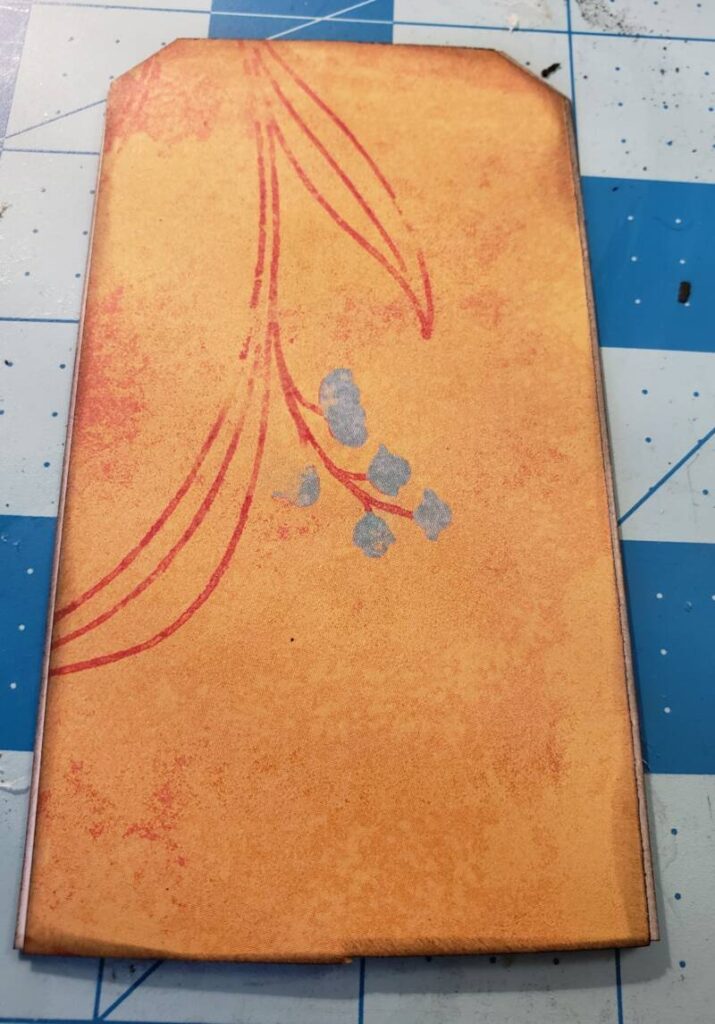
Embellish two of the tags as desired with ribbon, flowers, paper pieces, etc., making sure that you do not embellish a small portion of the front right side of these tags. The window will attach on top of both tags as the middle door piece. It will attach to the bottom right corner of the first tag and the upper left corner of the third tag. Think about the placement of your embellishments when decorating the tags. You can embellish with paper only or embellishments only or both. The paper I was using was decorative, so I chose to only adhere the paper.
Ink the edges around the tags. Make sure the ink shows on both sides. You will need to decorate both sides of the tag. The third tag door will have a window, so we will do that next.
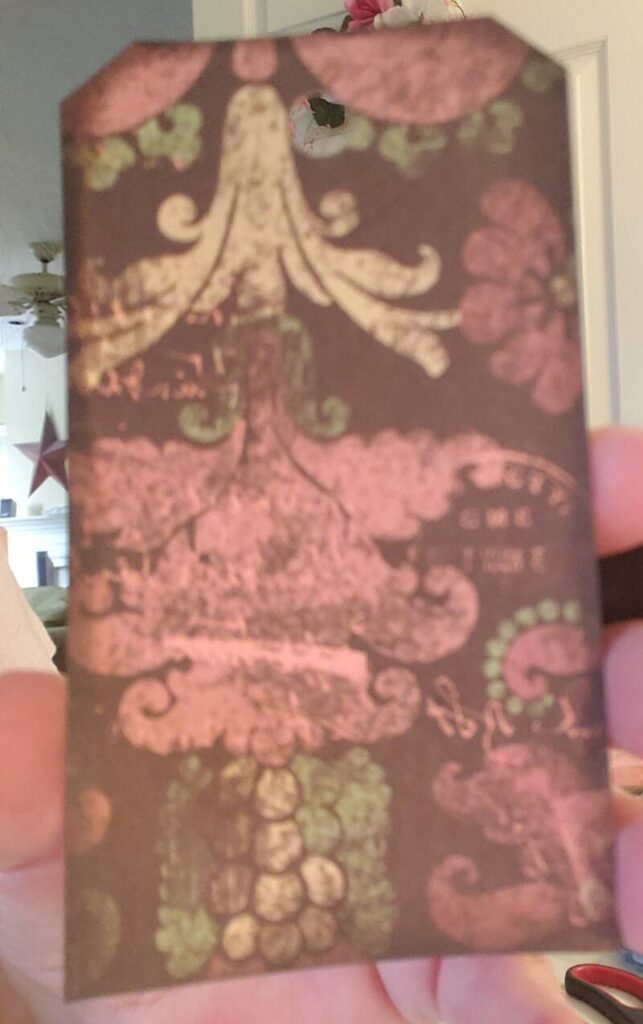
One tag that you will use as the middle tag will house the window with your image. The other side of that tag can be embellished. Embellish the other side first.
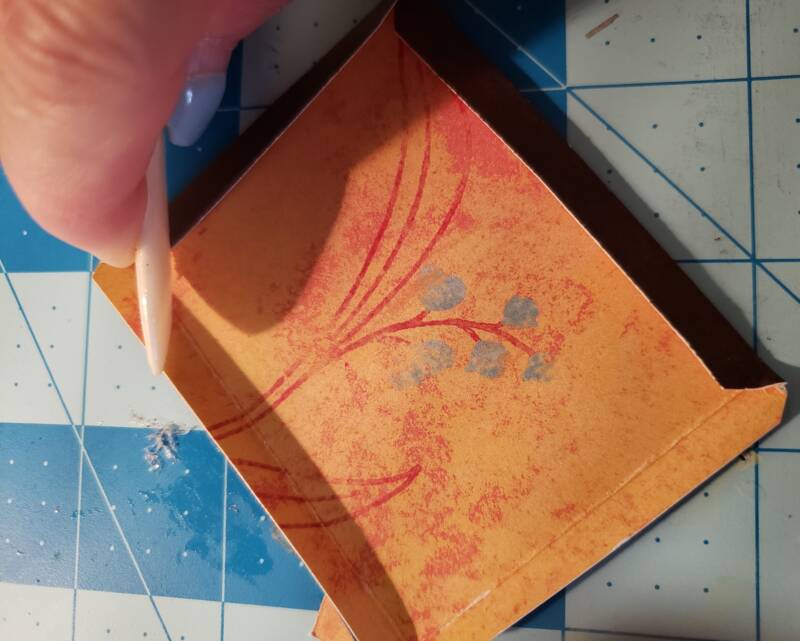
For the inside window piece, score the paper at 1/4″ on all sides. Fold along the score line using a bone folder to burnish those folds flat. After folding, cut out the small square on each corner. Now miter the corners of the folds on each side by snipping each folded edge with a slight slant. Burnish the folds down with a bone folder for a nice flat crease.
For the window frame, use the third remaining tag. Using an exacto knife, carefully cut out the middle of the tag to form the frame. You can make this any size you want, leaving at least a 1/4″ inch on the right and left sides. I got lucky with a tag that had a decorative shape in the middle. I cut along the sides of the shape on the tag.
Apply some wet glue on the outside of the flaps and adhere the tag frame to the flaps. Use wet glue for this because you will have a small window of time to adjust the window onto the tag before it dries.
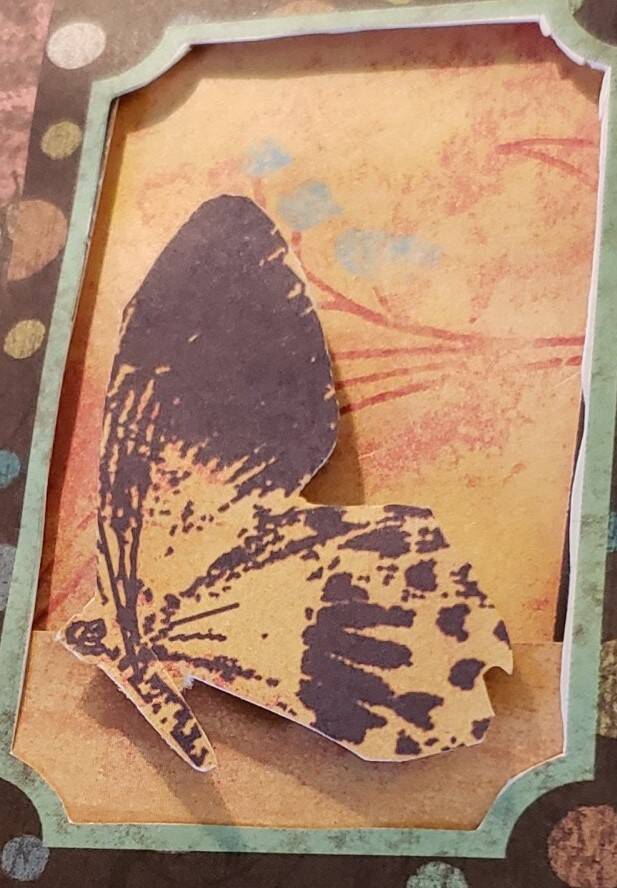
Attach your image inside the window using some pop dots to pop it up a little. Apply the window to the middle tag. It should be the same size as the width of the tag when completed.
Using double-sided tape, attach the tags together. The middle tag with the window should be on top of the first and third tags so that it stands out.
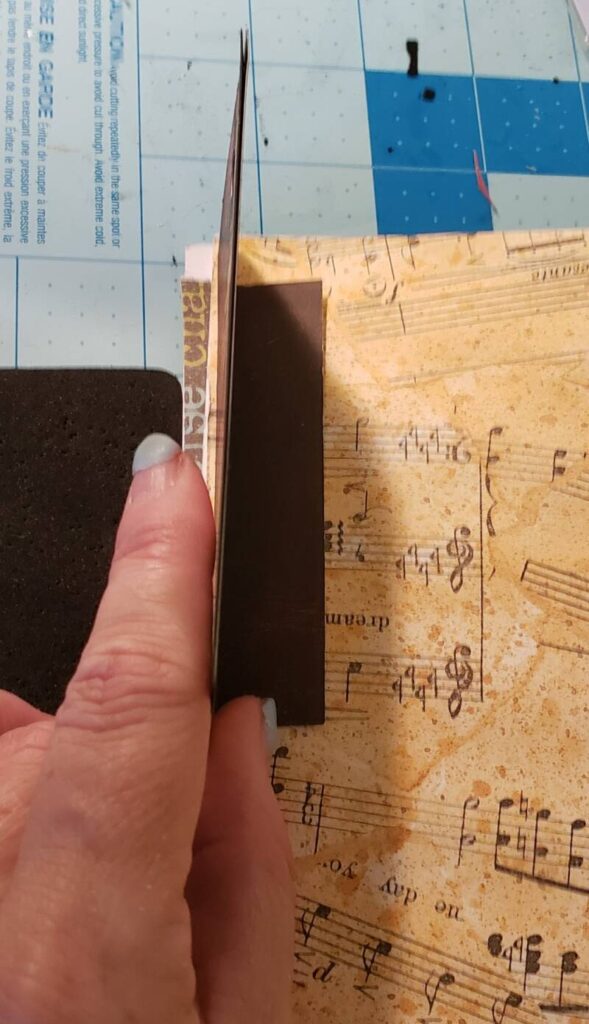
To attach the tag door to the junk journal page, flip the tags over and attach one side of the hinge piece to the first tag. Then, attach the other side of the hinge piece to the junk journal page, making sure that the edge of the tag and the page are straight.
Below is the final junk journal tag door.