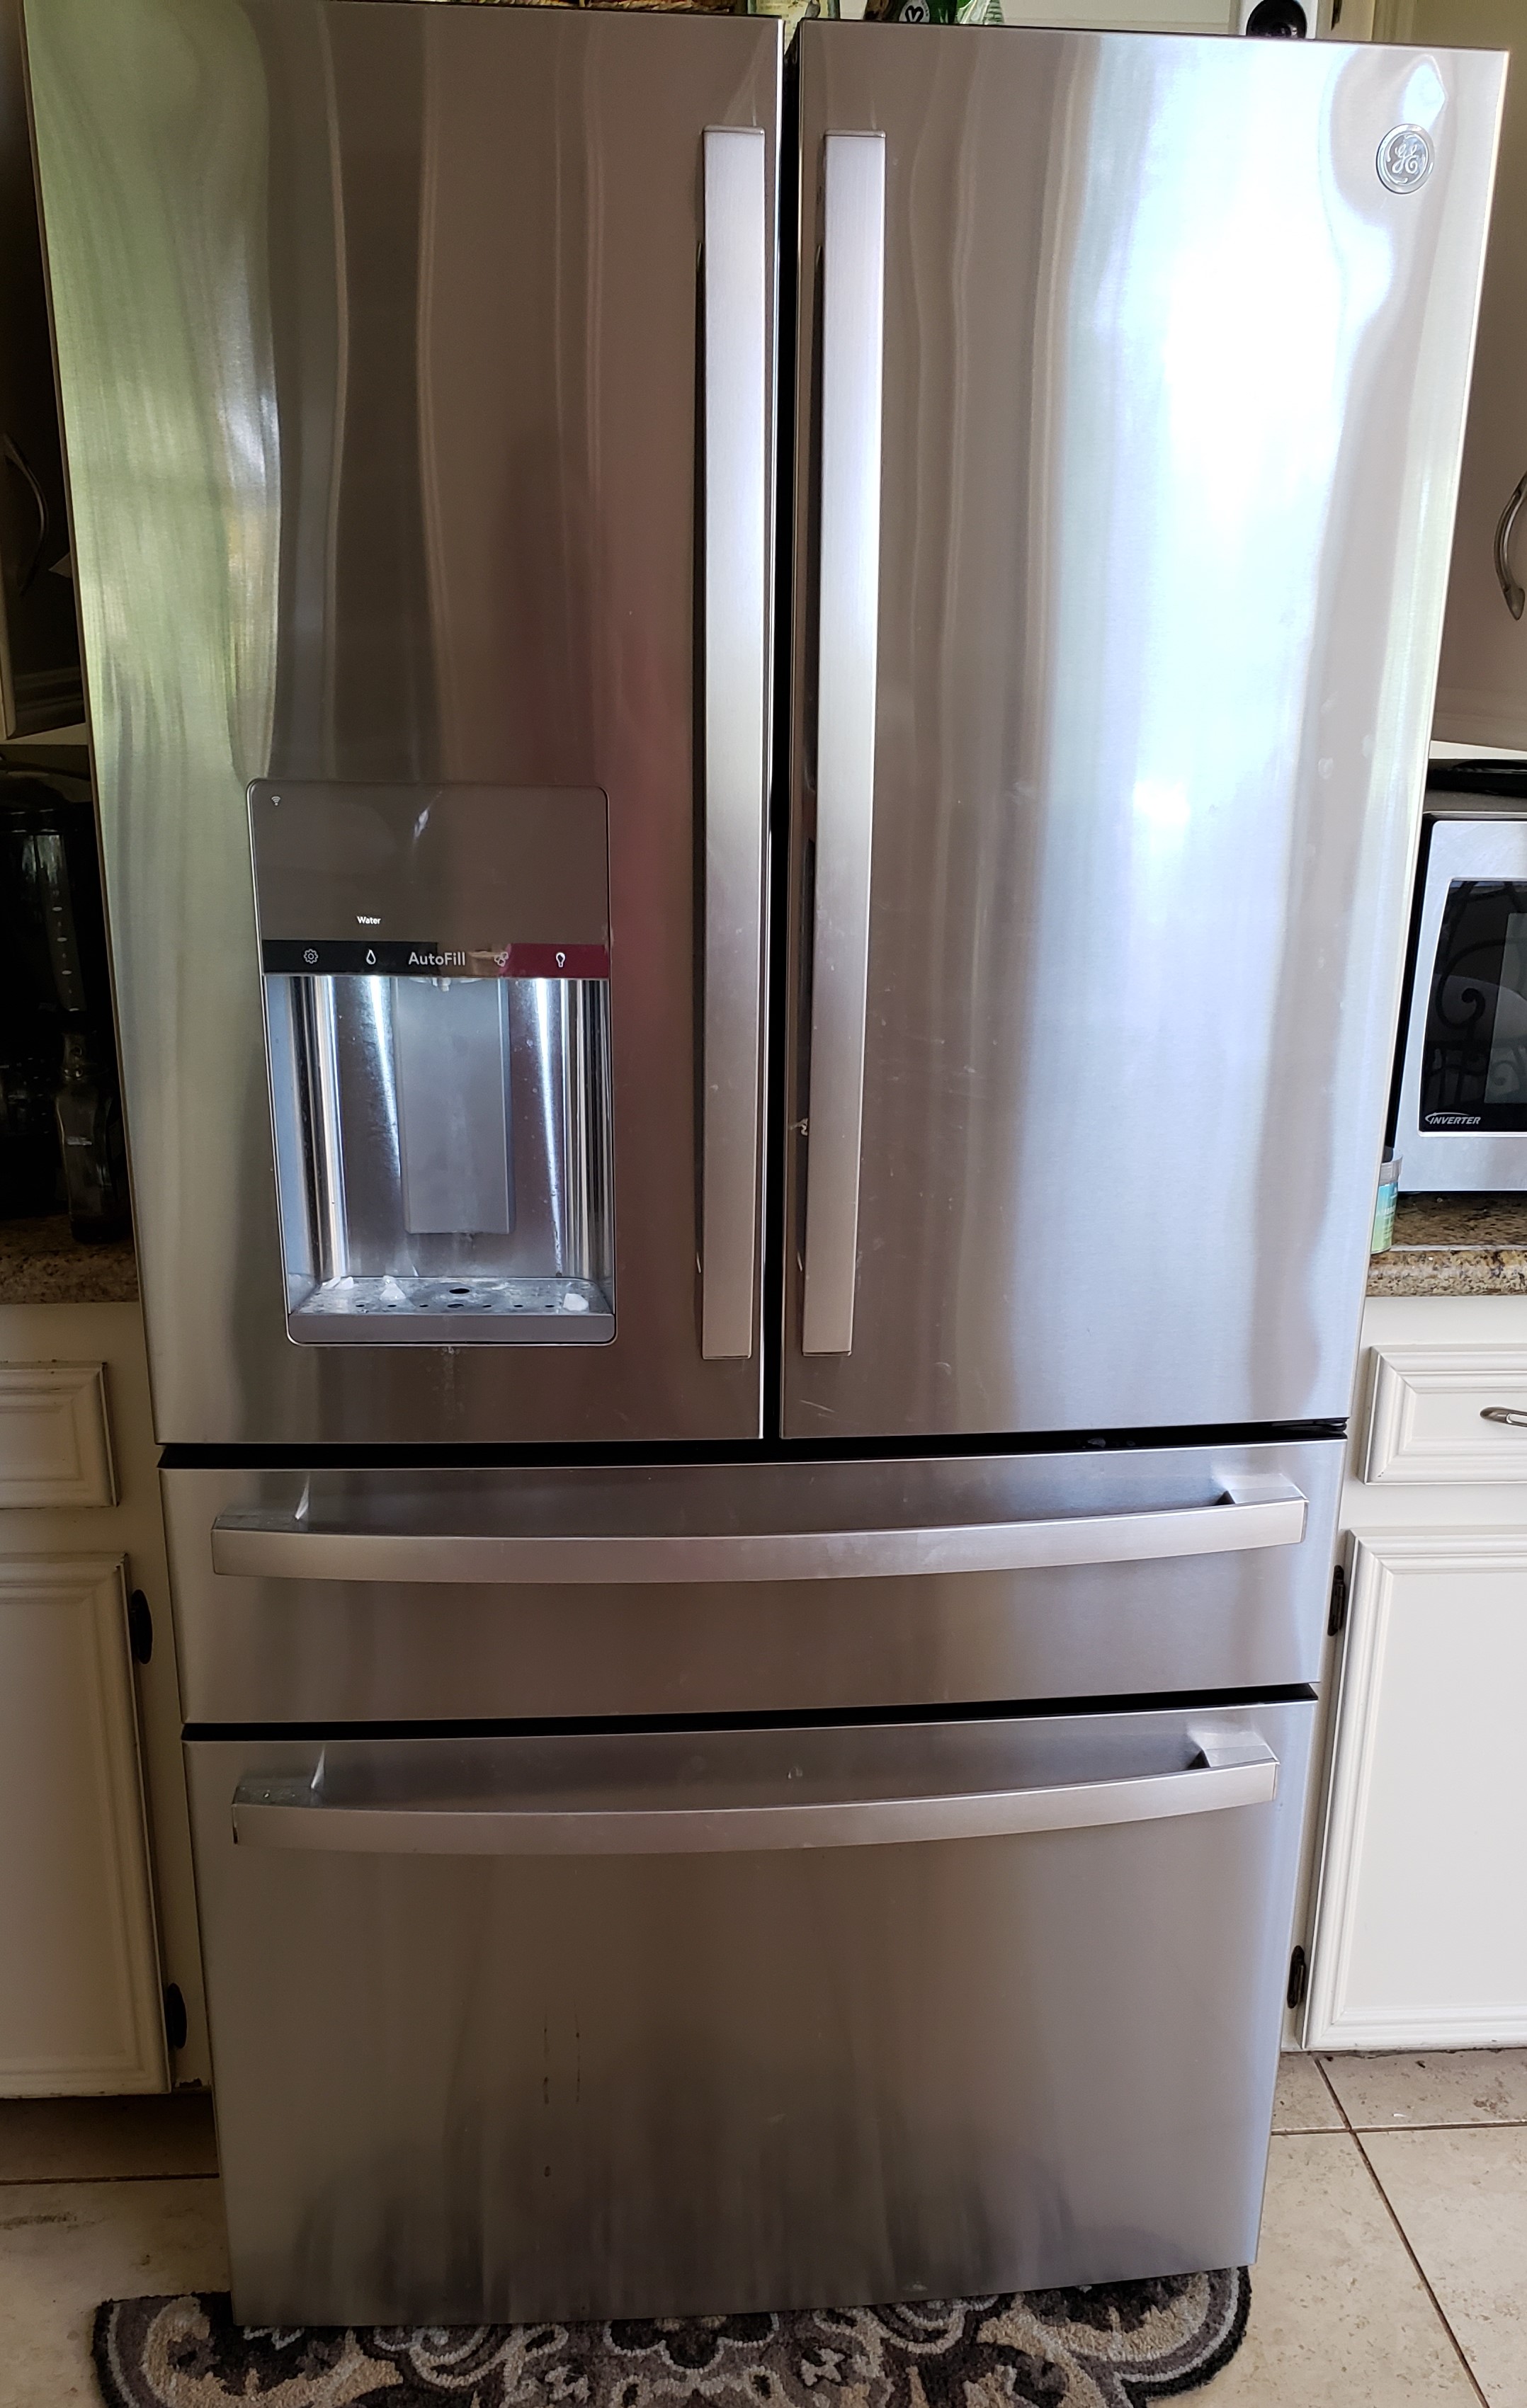
The refrigerator is probably the most used appliance in a household. As many times as the doors open and close, the refrigerator can quickly become disorganized and messy. I don’t know about you, but items get pushed back and forgotten, the vegetable drawers begin to take on a life of their own and don’t even get me started on the cheese drawer. With all that going on, the refrigerator needs a good cleaning quite often. I tend to organize it every week, but it needs a more thorough cleaning every month. If you are new to keeping a home, such as in your very first apartment or are newly married, you will realize very quickly that cleaning the refrigerator must appear in your cleaning routine.
I like to clean one shelf at a time because it is easier to manage and you will not become overwhelmed, having the contents of your entire refrigerator all over your kitchen.
Step 1
1. Remove the items from a shelf to clean and place on the counter.
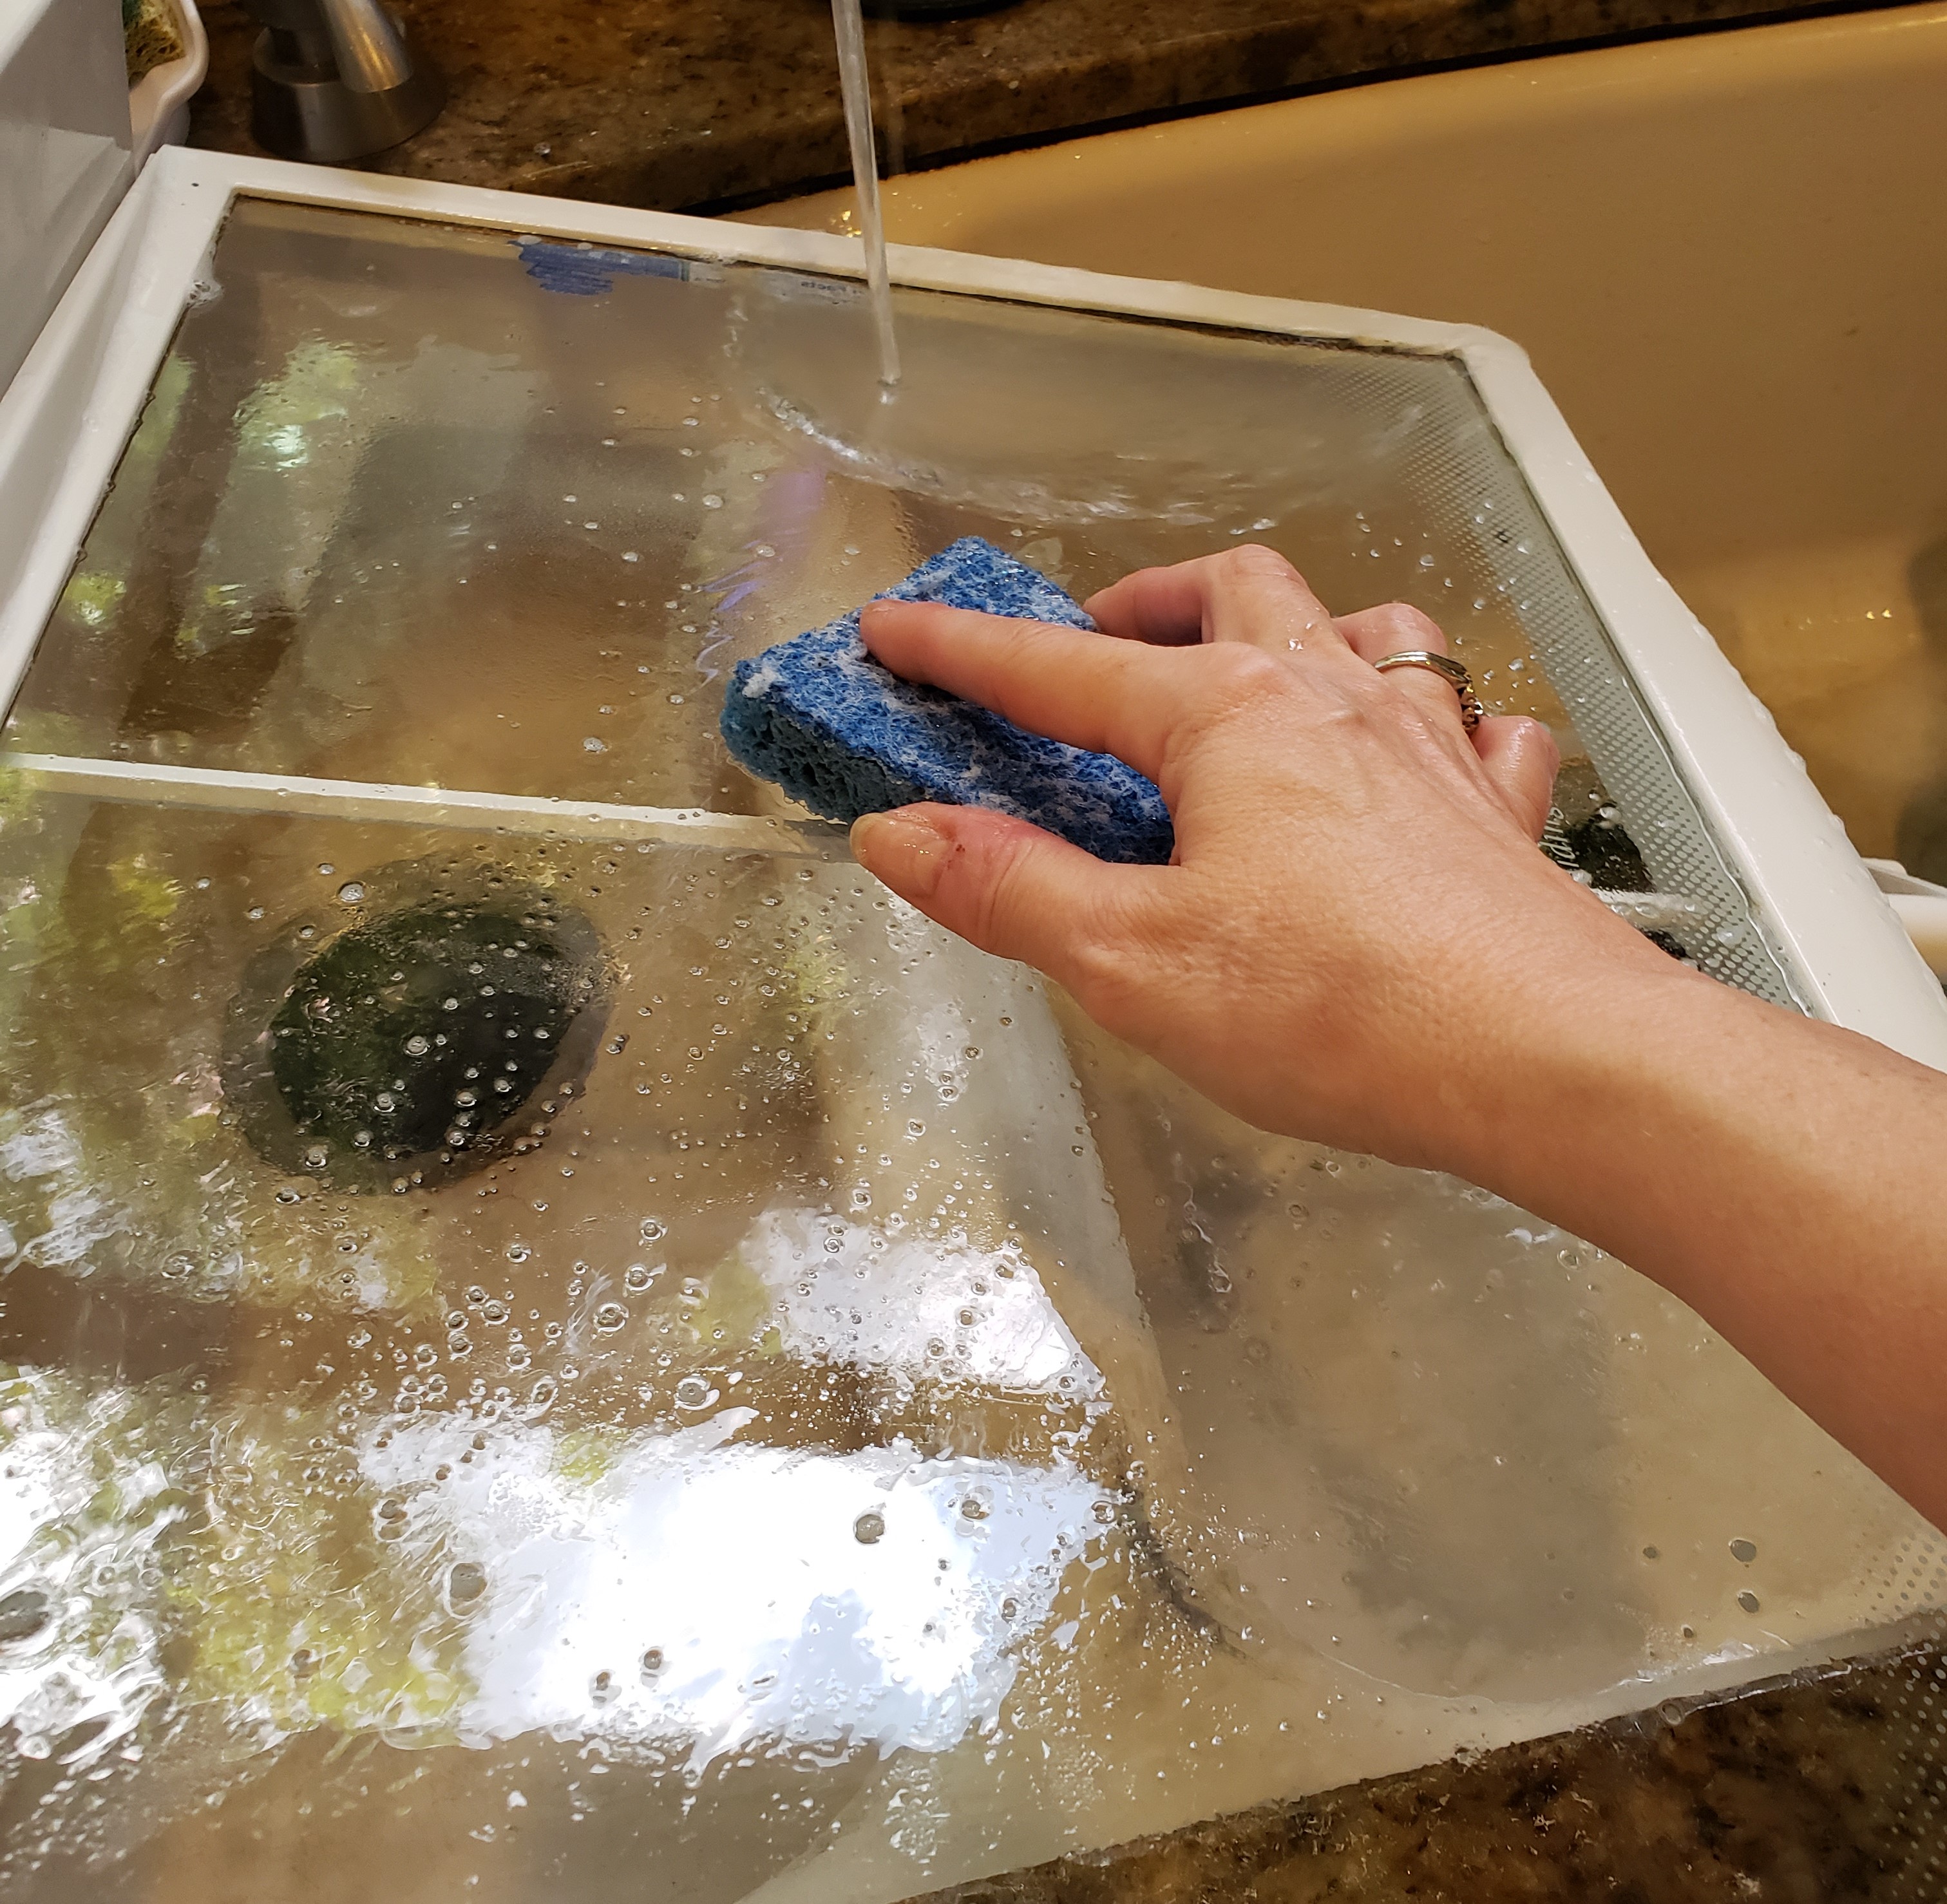
2. Carefully remove the shelf from the refrigerator. Refrigerator shelves are usually made of glass. When you expose them to the warmer air outside the refrigerator, they will immediately form condensation, which makes them slippery. Be very careful that you have a strong grasp of the shelf as you remove the shelf so that you do not drop it. The shelves attach to the back of the refrigerator by an L hook, so when detaching you must slightly lift upwards and pull to detach it from the back.
3. Wash and dry the shelf with hot soapy water in the kitchen sink, being very careful not to break the glass.
4. Attach it back into the refrigerator when the shelf is thoroughly dry,. Now is the time to adjust the height of your shelves if you need to. Place the hooks into the slots in the back of the refrigerator by angling the hooks into the slots.
5. Place the items that were on that shelf back to where they should go, throwing away any items that do not need to go back in. Reorganize as you go. If there is an item on another shelf that would be better placed on a different shelf, give it a new location now.
Step 2
After the shelves are cleaned and organized, it is time to clean the drawers. All refrigerators have different components, so whatever drawers you have, need cleaning. The drawers are usually attached by some kind of track that allows them to roll in and out. Because of that, they are a little difficult to remove. Some drawers do not come out at all, meaning, there is no way to clean behind them, so you will need to clean them in place.
1. Remove the items from the drawers.
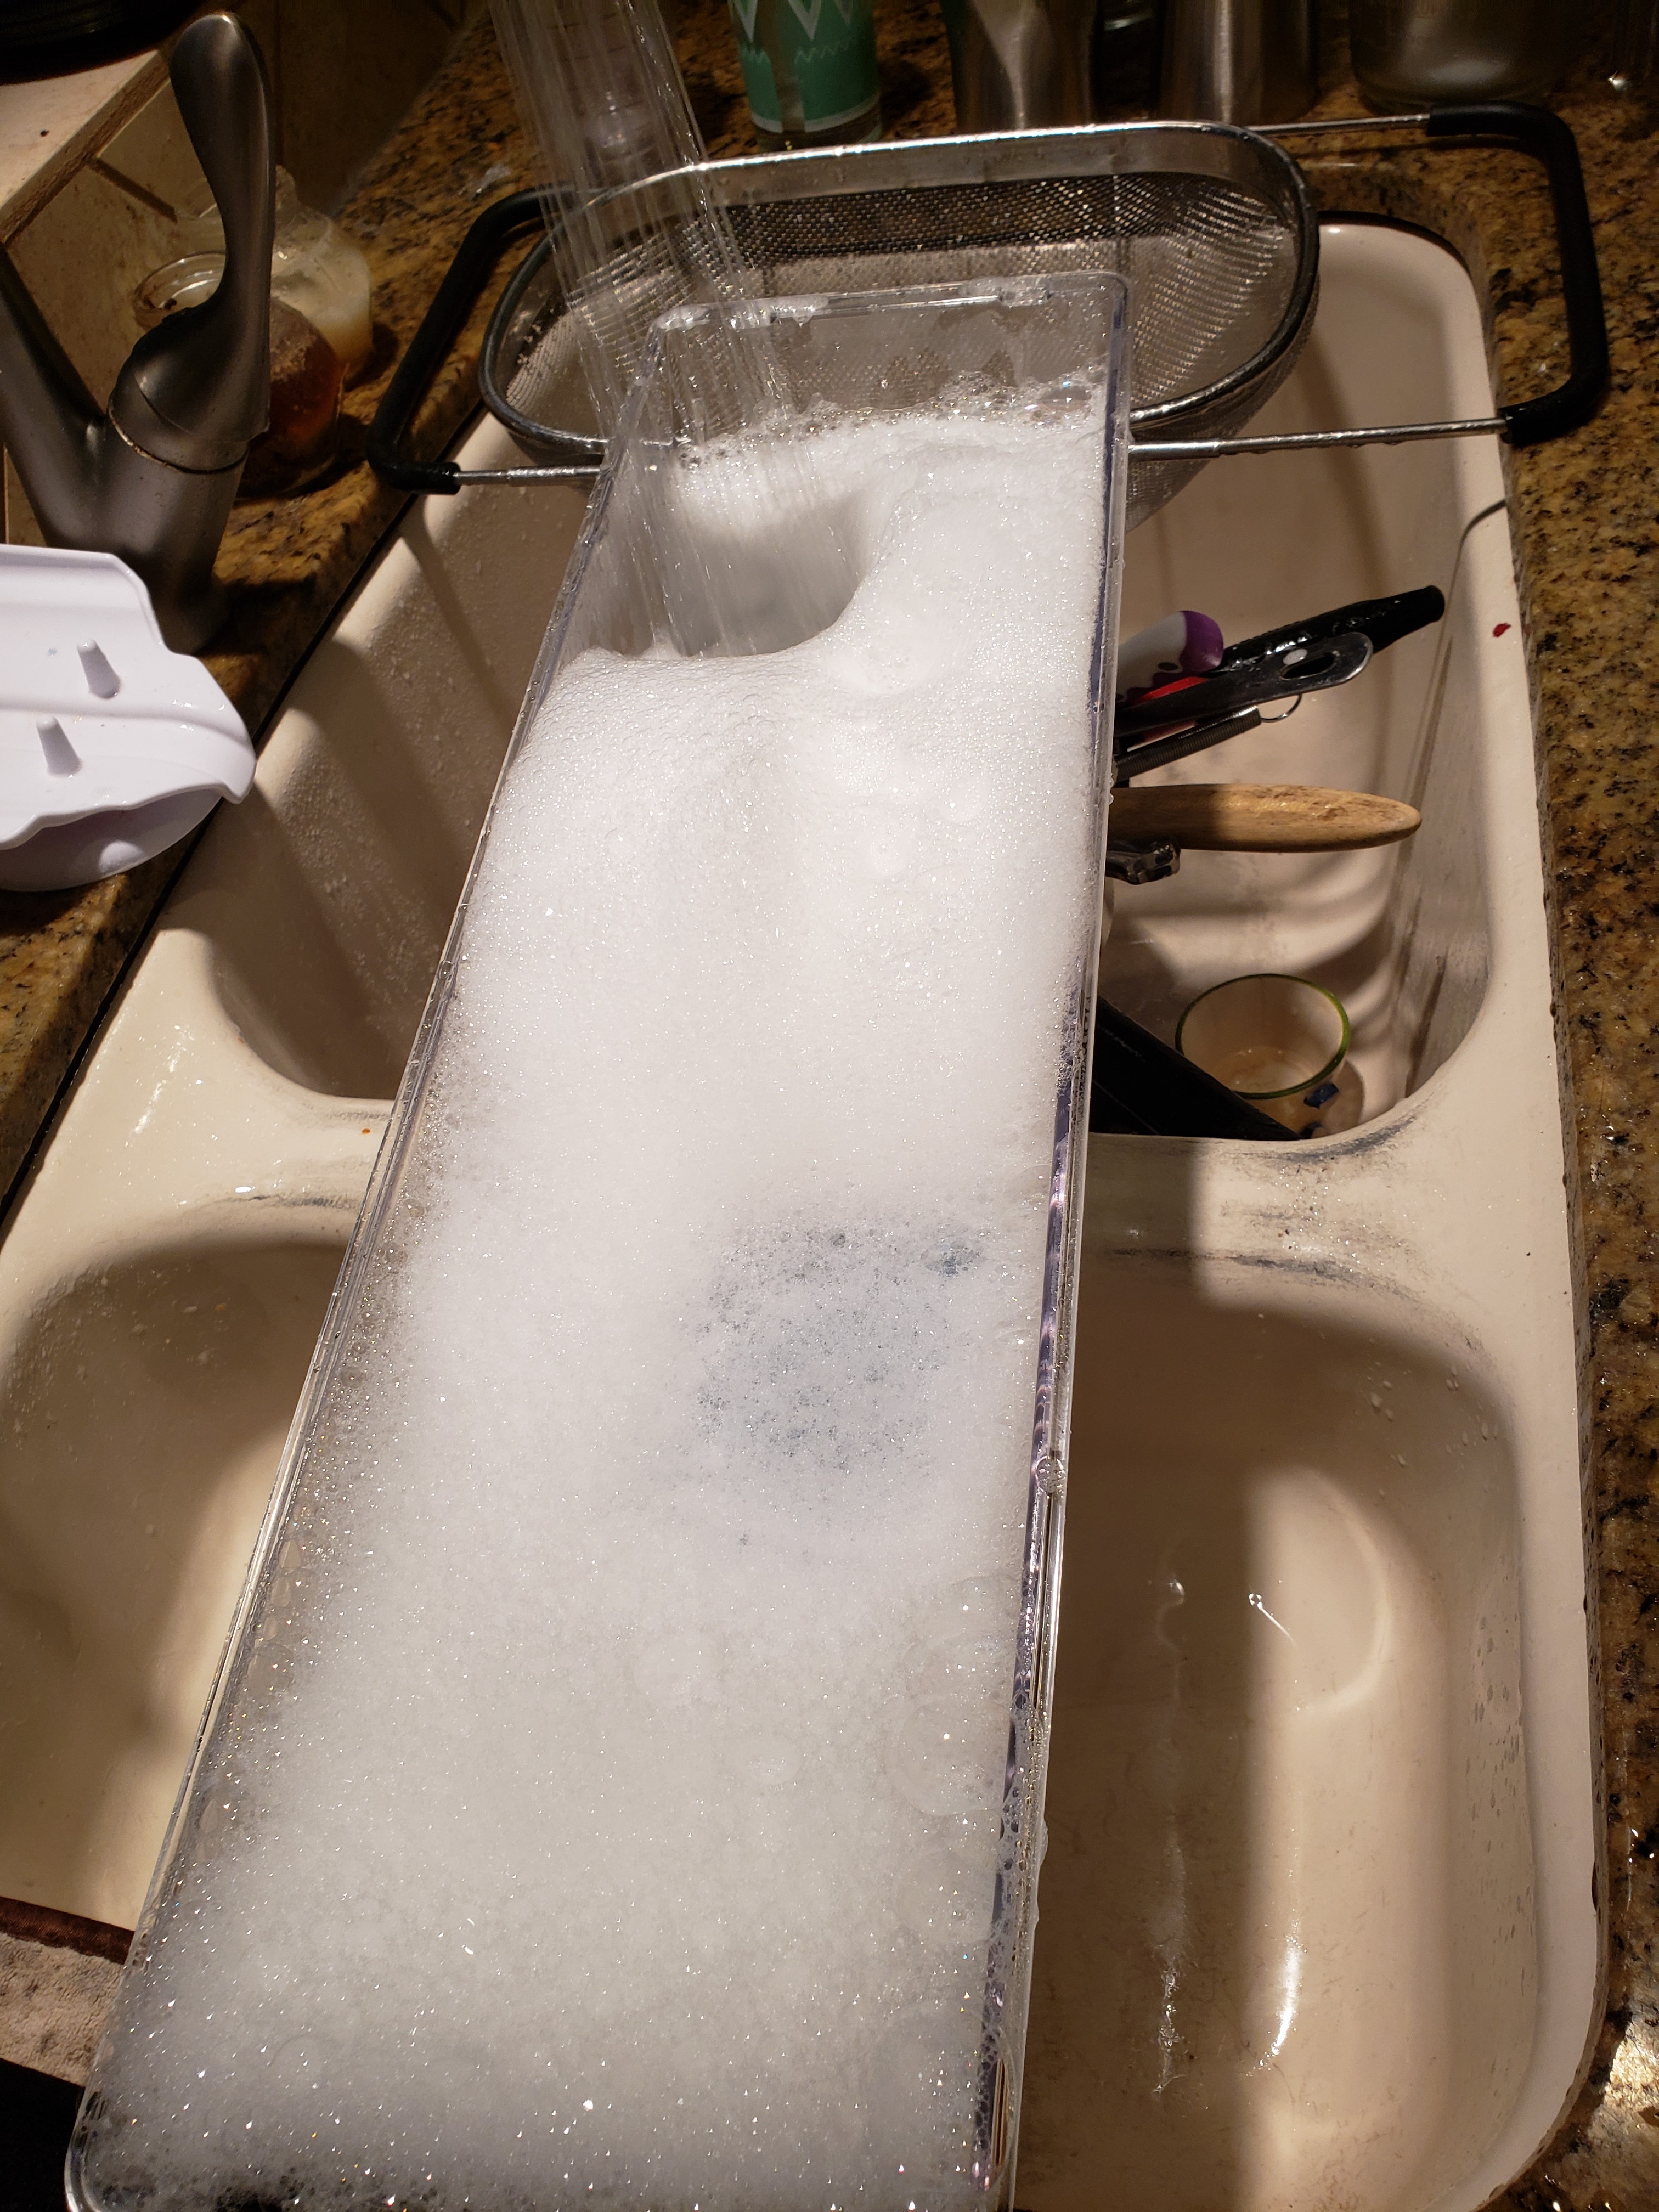
2. If you can remove the drawers, take them to the sink to clean them with hot soapy water and dry them. As they are drying, clean the drawer space in the refrigerator. If the drawers are not removable, place some liquid dish soap on a wet sponge and wipe out and rinse the drawers.
3. Replace the drawer back into its space once it is dry.
4. Place some kind of liner in the bottom of the drawer to make the next cleanup easier because fruits and vegetables tend to get yucky if you do not keep up with them.
Step 3
After the drawers are cleaned, the last thing to do is to clean the shelves in the door. If you have a side-by-side or a French door model, the shelves lift out, which makes cleaning easy. If you have an older model, the shelves may stay in place.
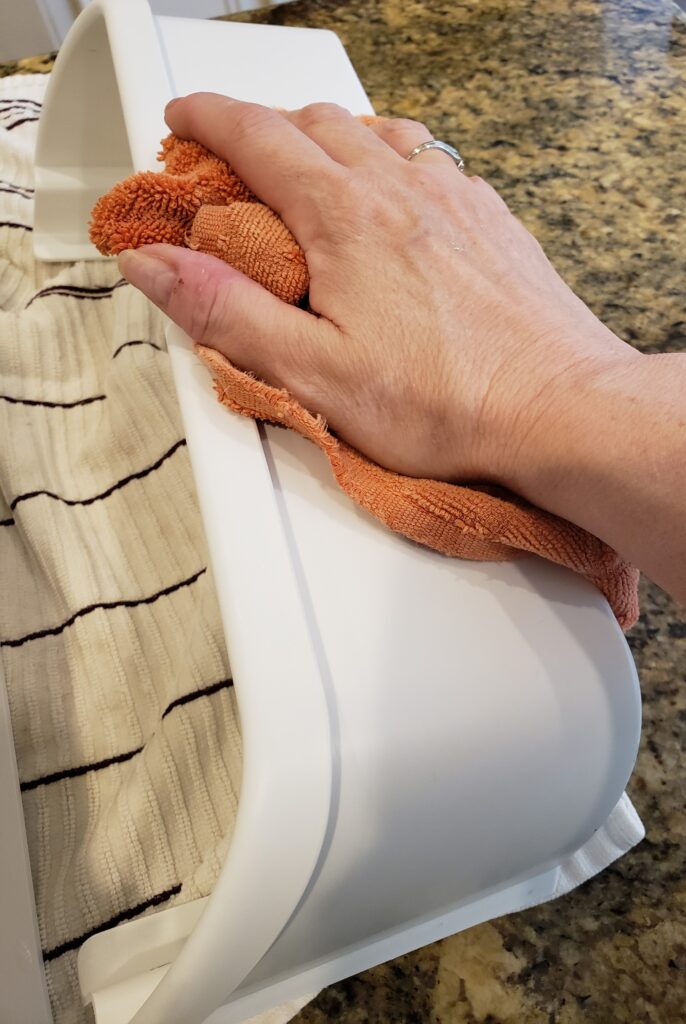
1. Take the shelves out if you can, and wash them with hot soapy water. If you cannot remove them, apply some dish soap to a wet sponge and wipe and rinse the shelves.
2. Replace the shelves on the door once they are dry.
3. Place all the items back on the shelves.
That’s it! You now have a shiny, clean refrigerator. Wait….what about the freezer? The freezer is a whole other ball game. Save the freezer for another day. For young adults in their first apartment or as a young married couple, cleaning the refrigerator is often overlooked, but must be done to maintain a home.
To maintain a newly cleaned and organized refrigerator, a good practice is to reorganize it every week and throw away empty containers, and expired items. Throughout the time of one week, a refrigerator can become messy and disorganized again. Items get knocked over and moved around. Packages are not sealed or enclosed properly, etc. A quick reorganization will deter having a bigger mess to clean up monthly.
One thought to “Housekeeping 101: Cleaning the Refrigerator”