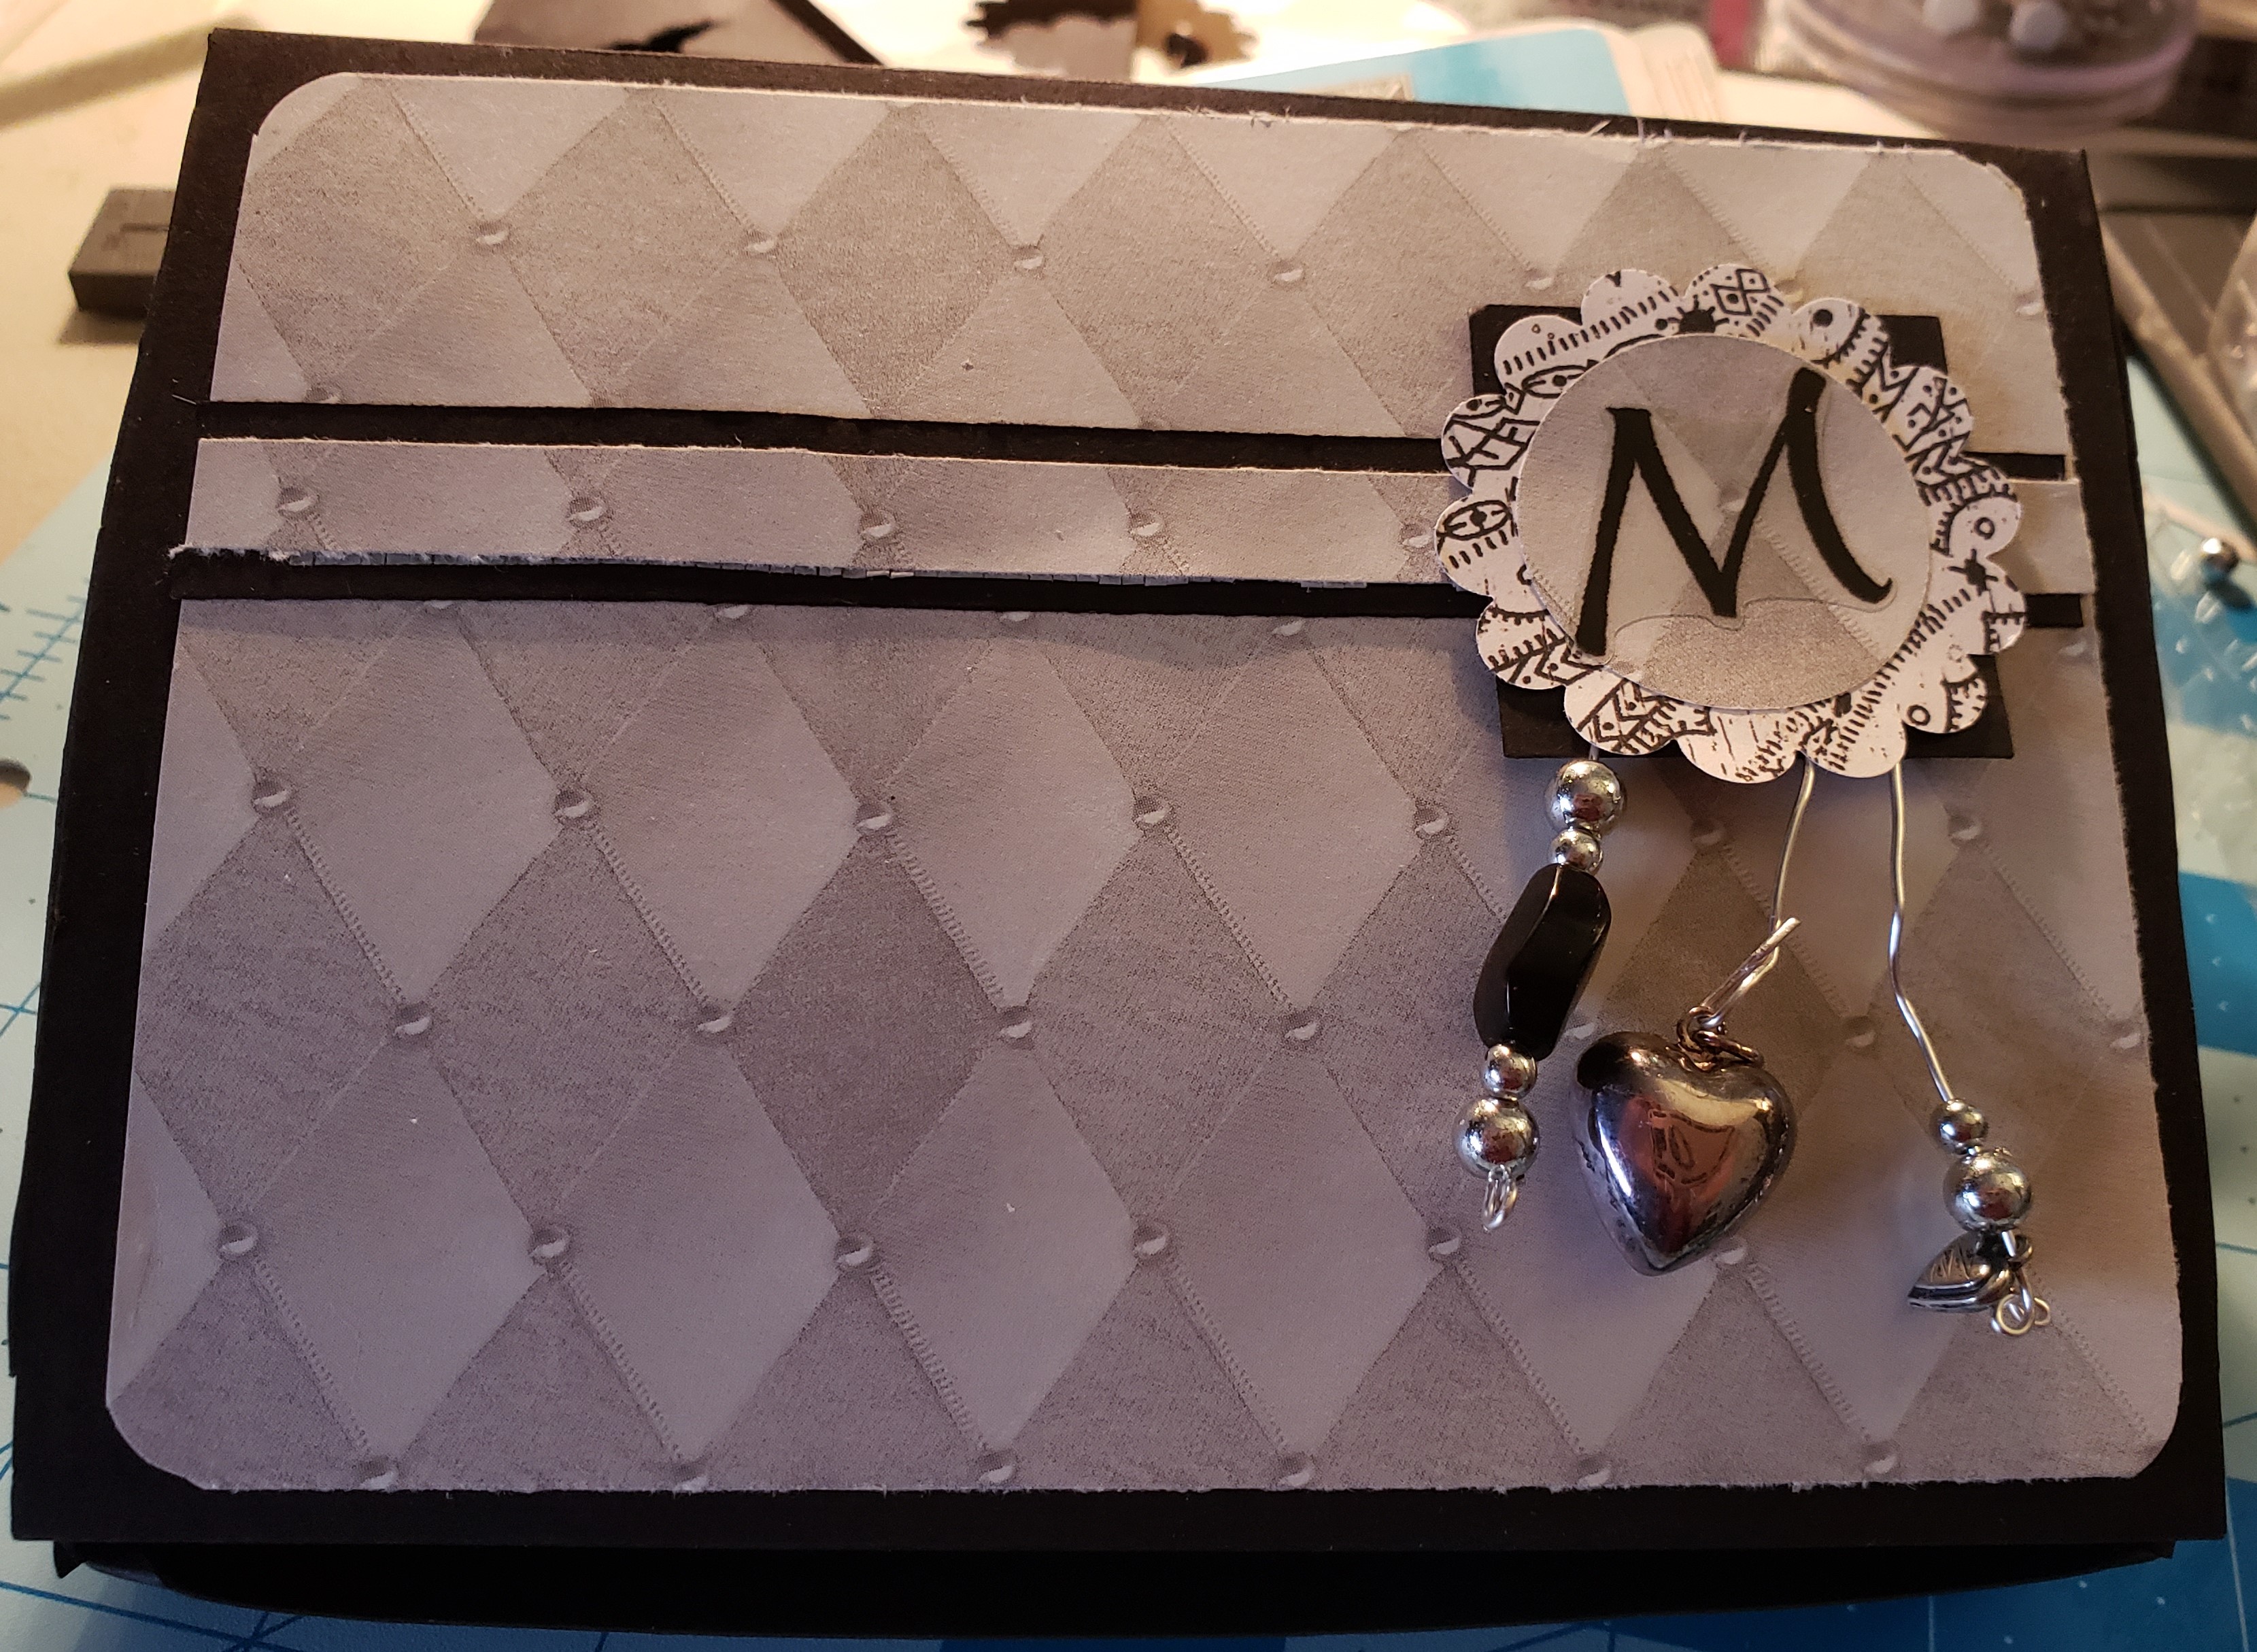
A friend of mine was nice enough to look in on my cat while I was out of town recently, so I made her a monogrammed notecard set as a gift. I also took her to lunch, but the box was a nice touch to show appreciation her kindness.
I started with the envelopes because they are the easiest to make. This is not a difficult project, but believe it or not, selecting the paper was the hardest part. I wanted to include 6 note cards and envelopes in the package, so I needed six coordinating papers for the envelopes. I chose a black and white theme because that sounded elegant to me.

Envelope Instructions
- You need a template for the envelope. The easiest way to do this is to find a premade A2 size envelope and deconstruct it to use as a template. The envelope you use may look different than mine because there are several designs for these types of envelopes. You could also very easily find a template on the internet.
- Lay the deconstructed envelope on copy paper and trace around it. Carefully cut out the template. You can keep the template in your stash to reuse.

3. Trace the template on the back side of the scrapbook paper you will use for the envelope and carefully cut it out. When you flip your envelope over, it should look like the picture on the right below.


4. Using the straight edge of a ruler, line up the ruler to the corners of each flap and fold upwards to form a straight crease in the paper.

5. Use a bone folder or popsicle stick to crease the folds.

6. Using some decorative scissors or a border punch, cut along the flat edge of the scrapbook paper at the bottom of the template shape. This edge folds up to form the top edge of the envelope on the backside.

7. Place some glue along the thin folds on each side of the envelope and fold the scallop-edge up to seal. Wipe off the excess glue. You can clamp the sides using some craft clamps or paper clips.

8. Repeat this process with the other scrapbook papers you selected for your envelopes. Don’t they look great?


Instructions for the Box
1. Using a 12 x 12 sheet of cardstock, cut it to measure 12 x 10 inches.
2. Place the 12-inch side of the paper at the top of the scoring pad. Score the paper at the following marks:
- 1 inch
- 5 1/2 inches
- 6 1/2 inches
- 11 inches
3. Turn the paper so that the 10-inch side is at the top of your scoring pad. Score at the following marks:
- 1 inch
- 2 inches
- 8 inches
- 9 inches

4. Cut along the fold lines so your paper looks like the following:

5. Fold the paper along the scored lines to form a box shape. The wings of the box will fold in on themselves.

6. Apply some glue to the outer side of the wings and the small square flaps at the top and middle.
7. Fold the small square flaps to secure the wings and then fold the wings in and down so that the small square flaps are secured inside the wings.
8. Clamp to secure. I used some craft clamps, but paper clips work as well.

9. When the glue dries, fold the larger top flap to close your box.
10. Now you can decorate the top of your box.
Instructions for Decorating the Box
The sky is the limit for decorating the outside of the box. The only general instruction is to cut the paper as the background of your embellishments.
Using a coordinating sheet of scrapbook paper (scraps are good if you have any), cut a 4 1/2 x 6-inch piece to secure to the top of the large box flap. After that use borders, stickers, flowers, bling, punches, embossing, dangles, etc. to decorate the outside of the box. This is what mine looked like when I was done.

The A2 size envelopes fit nicely in the box along with some beautiful handmade A2 size notecards. I included some adhesive white address labels for the recipient of this gift to adhere to the outside of the envelope so that she can write the address if planning to mail them.
I love this so much that I am going to make myself some!

