I love making altered notebooks! I use composition notebooks to write down my to-do lists, scribbles, menu plans, blog ideas, notes to myself, and many other things. They also make a nice gift for a fellow listmaker like me. A decorated notebook for this purpose is much more fun than a plain old black-and-white splotched notebook, don’t you think?
Let’s get crafty so you can make your own altered notebooks. Start with something simple. After your first few attempts, you can get more elaborate with the design and embellishments. I always suggest shopping your supplies on hand before starting to purchase materials. Sometimes, I find items I forgot I had that I can use.
Let’s get started!
Step 1: Materials List
Composition Notebook
Two sheets of 12 x 12 Scrapbook paper of the same pattern for the front and back cover
Two sheets of 12 x 12 scrapbook paper of the same pattern for the inside front and back cover
Paper trimmer
Ribbon or other trim
Corner rounder
Mod Podge
Foam brush
Embellishments
Scissors
Step 2
Measure and cut two pieces of the same 12 x 12 scrapbook paper design for the front and back covers at 11″ x 8″.

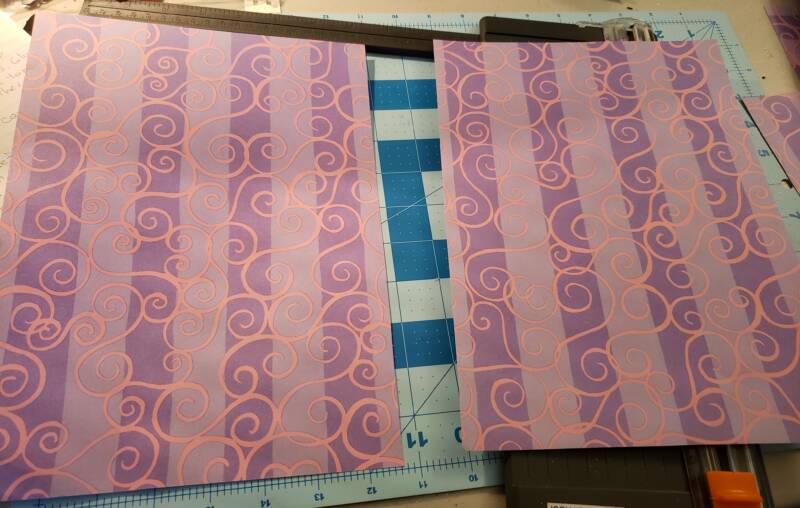
Adhere Mod Podge to the surface of the front cover of the composition notebook. Carefully line up the edge of the 11×8 scrapbook paper with the straight edge of the black binding. You should have about an inch of overhang along each side of the notebook. Place the paper down over the front cover of the notebook. Wipe away any glue that gets on the black binding of the notebook. Using a bone folder, very gently burnish the paper down and push any air bubbles to the sides, being very careful not to press too hard or else your paper will rip.

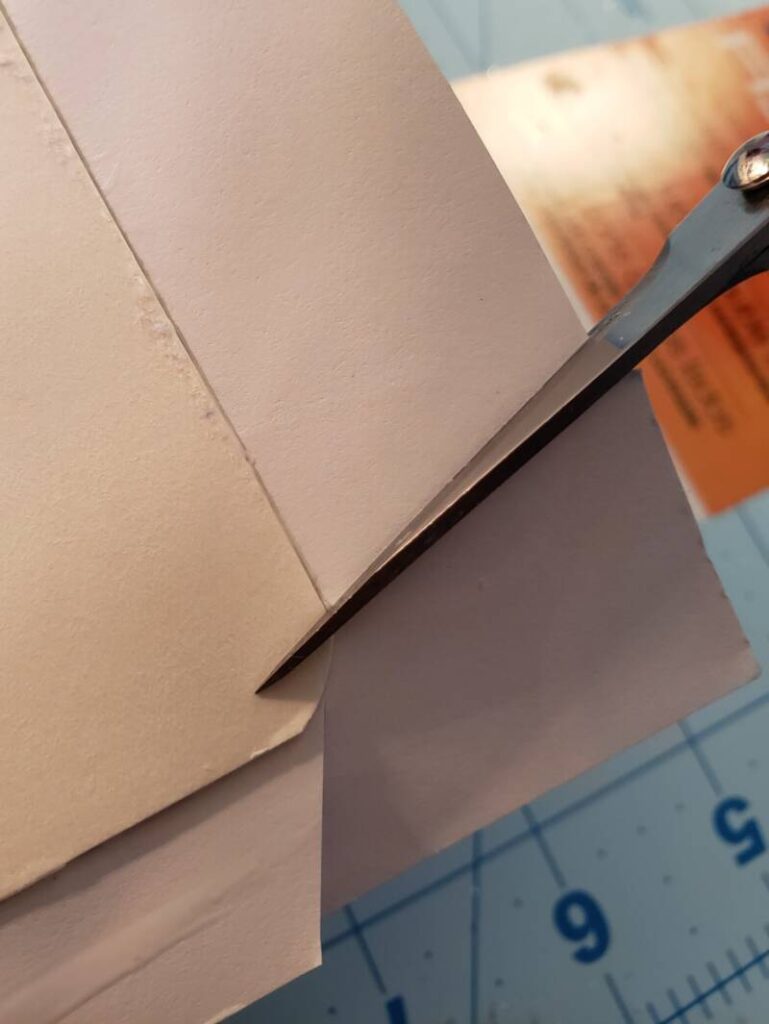
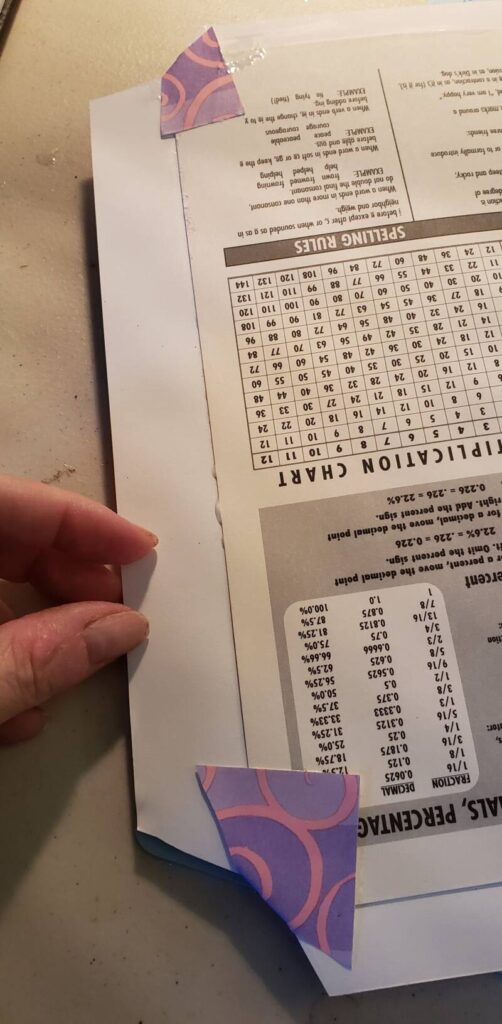
Open the front cover of the notebook and line up your scissors to cut a diagonal slit in the paper overhang to line up with the edge of the rounded corner of the notebook. Repeat with the other corners.

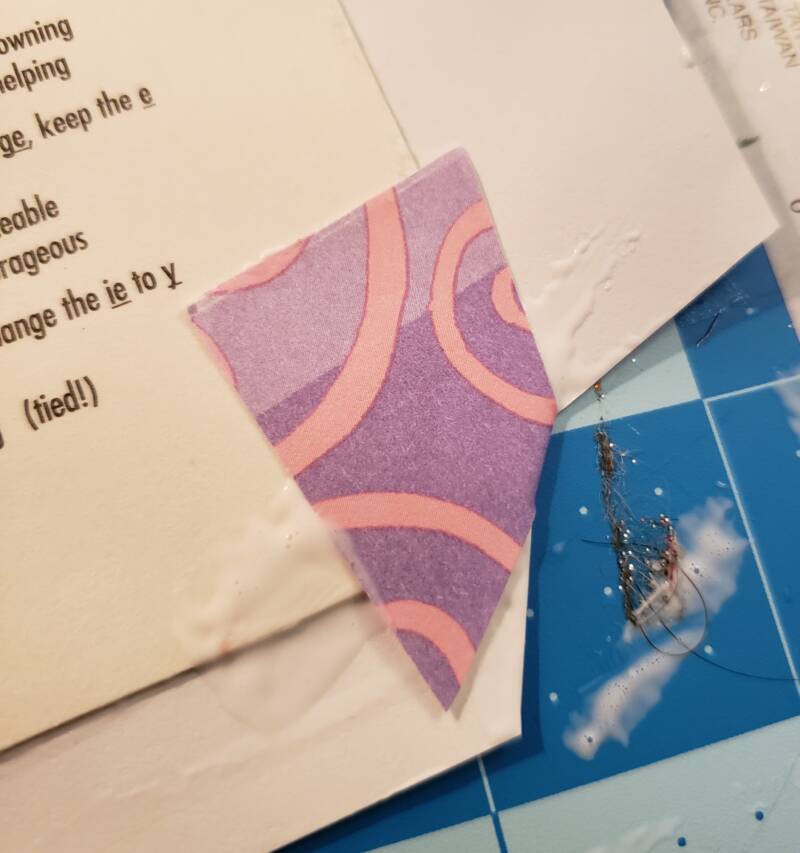
Apply some Mod Podge to the flap you just cut on the corners and fold up to adhere to the inside cover of the notebook. This will cover the raw edge of the notebook.

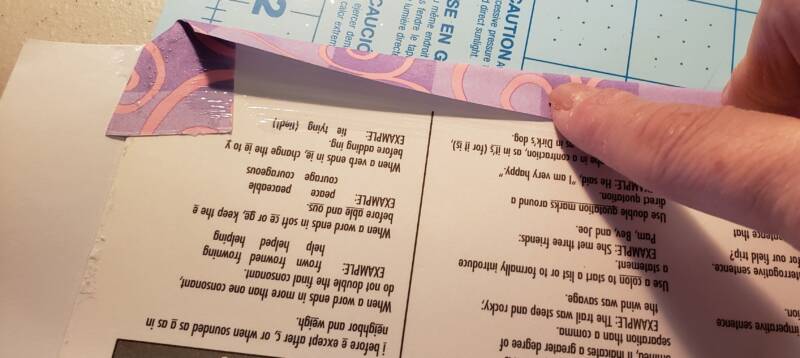
Then, apply mod podge to the side flaps and fold up to adhere the flaps to the inside cover of the notebook. Wipe away any excess glue with a tissue.
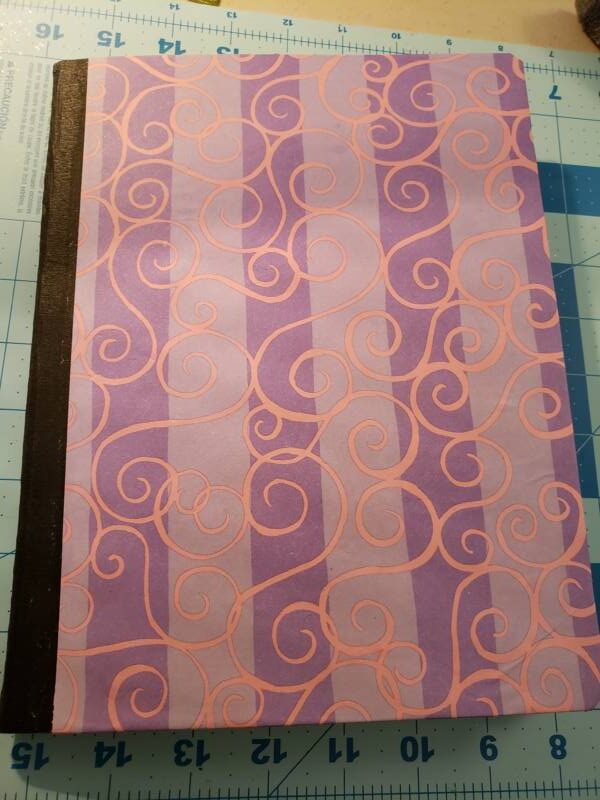
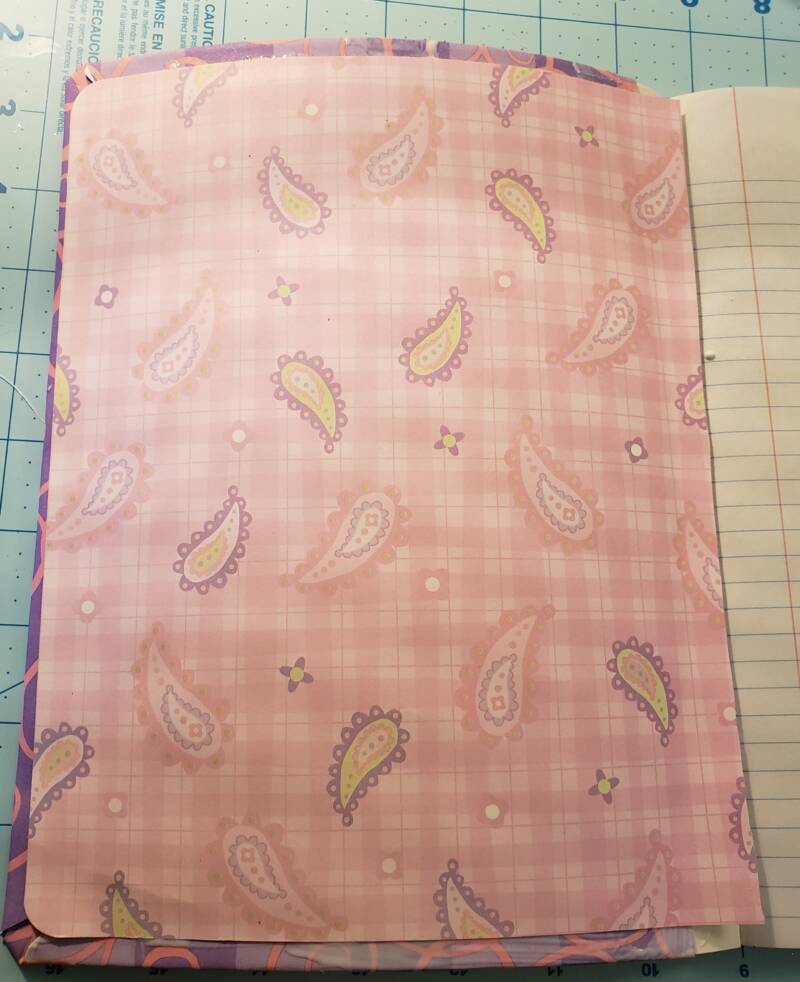
Repeat the above steps for the back cover. When completed, the outside of your notebook should look like the example below.
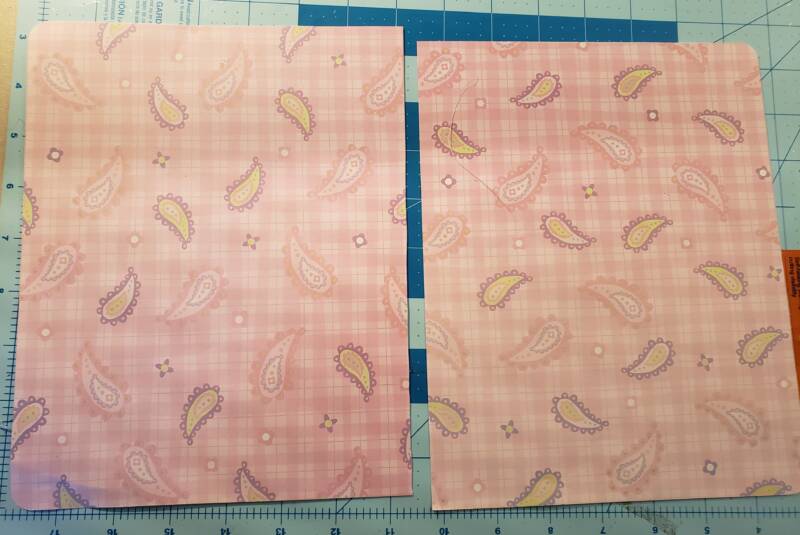
Cut the remaining two 12 x 12 pieces of scrapbook paper to use for the inside cover of the notebook at 7-1/4″ x 9-1/4″. Lay the papers on a flat surface side-by-side. On the paper on the left, round the corners on the left side of the paper only. On the paper on the right, round the corners on the right side only.
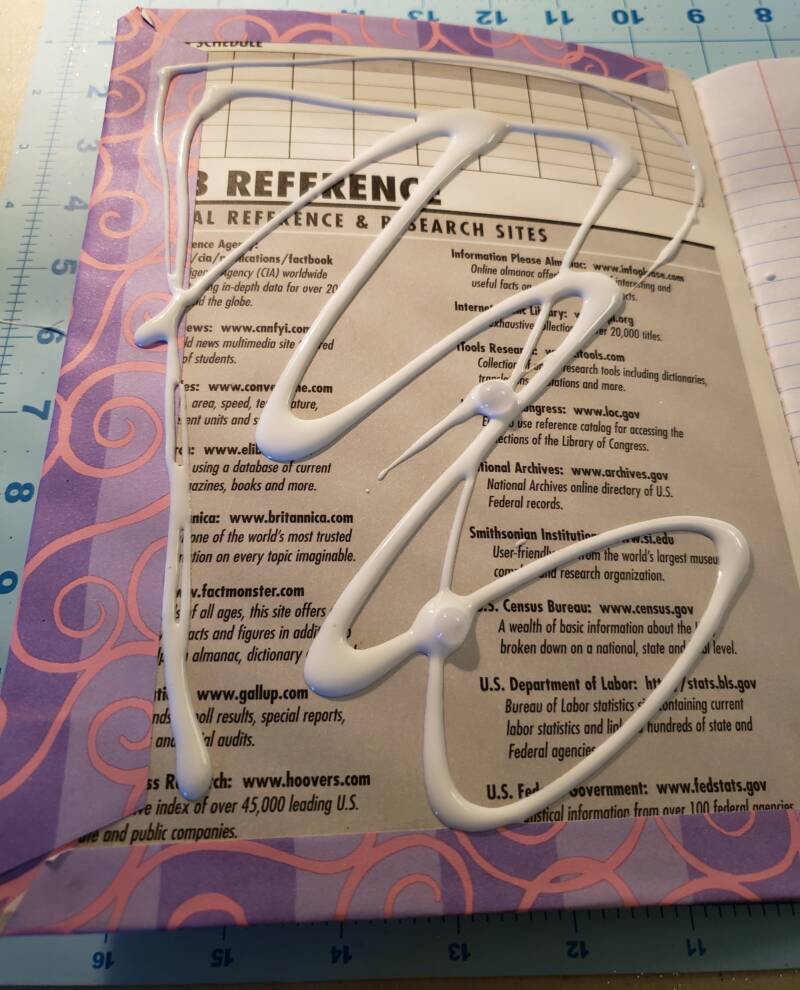
Apply Mod Podge to the inside cover of the notebook. Adhere the inside cover paper to the inside of the front cover. Line up the paper so that the rounded corners cover the mitered edge. The flat side of the paper on the binding edge will remain about 1/4″ from the notebook paper. Wipe away any excess glue with a tissue and burnish any bubbles with a bone folder.
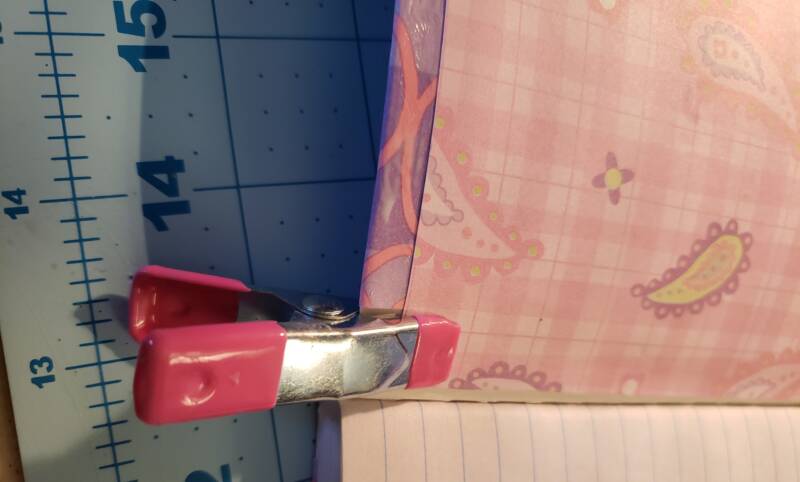
You can use some clamps or binder clips to help the glue adhere better assuring the edges will not curl up.
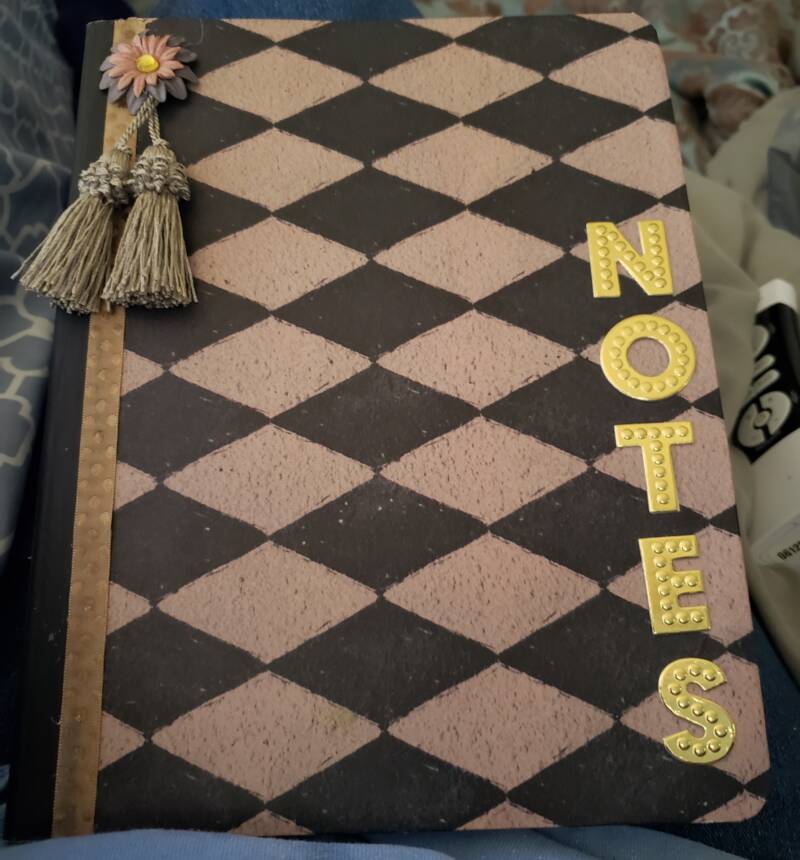
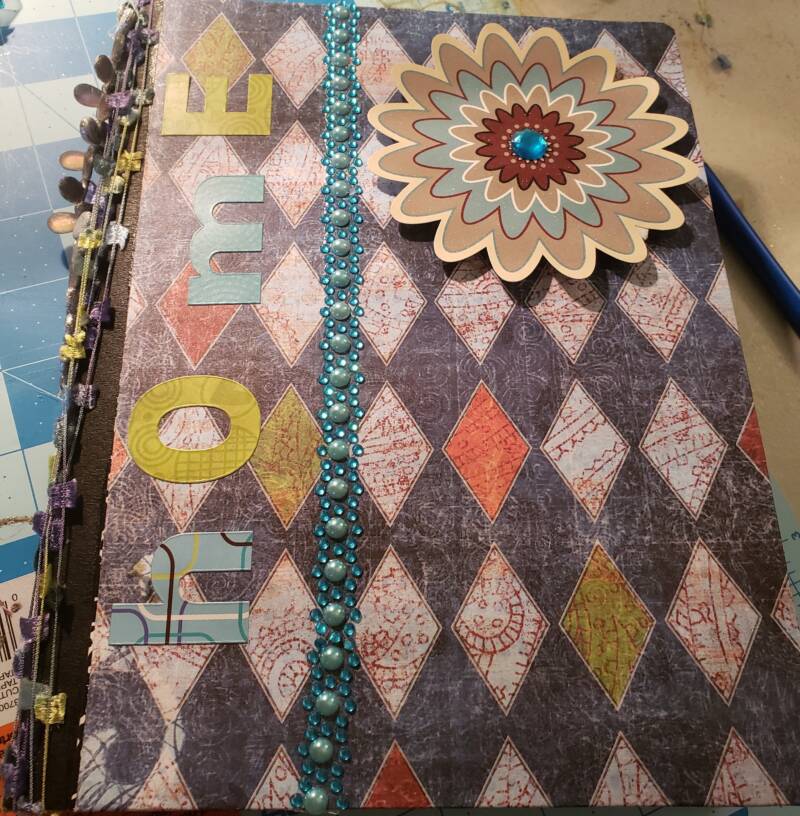
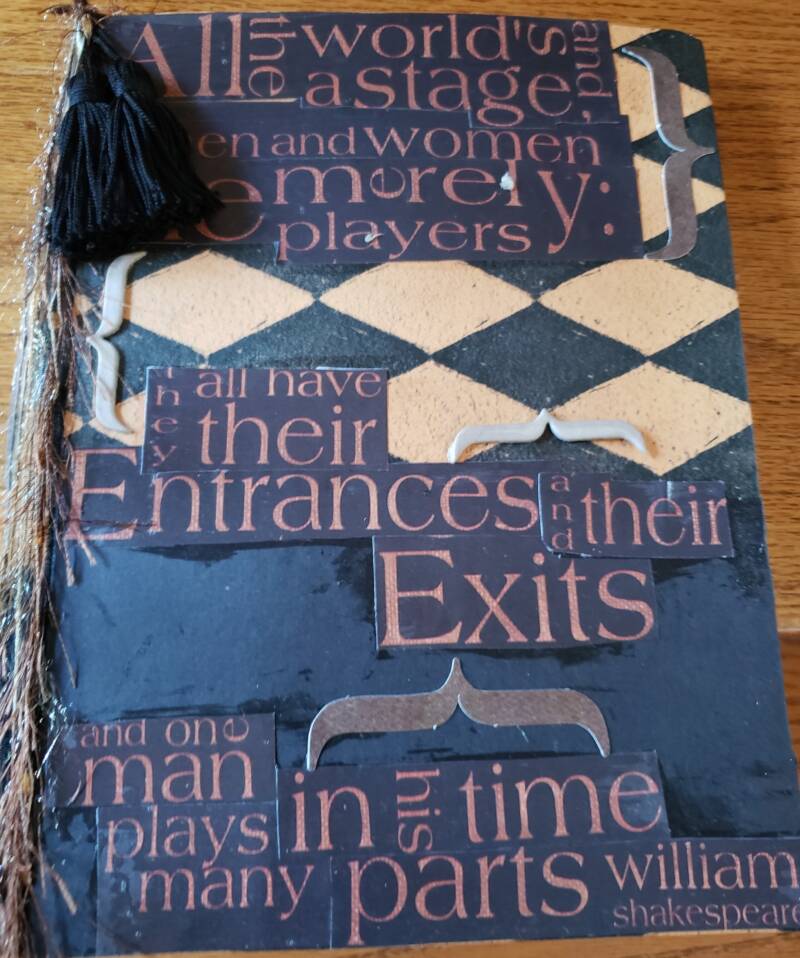
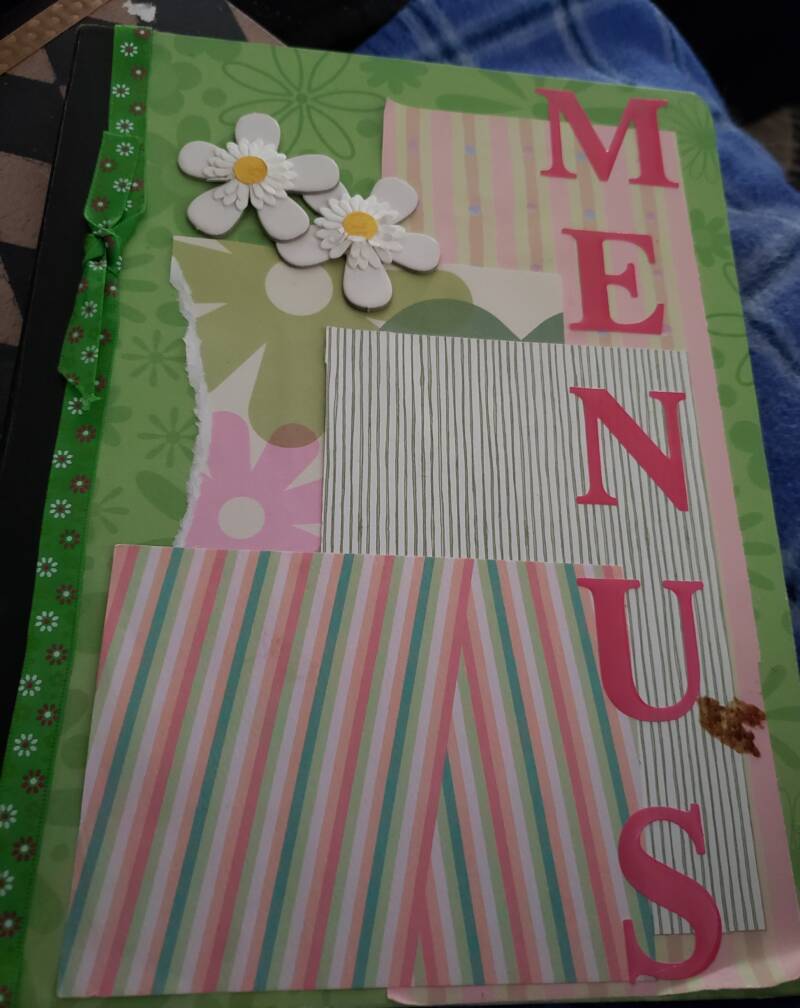
Embellish with ribbon, stickers, tassels, fringe, stamps, ephemera, etc., on the front of the notebook. Following are some embellished examples of the notebooks I have made.