Planning ahead is always a good idea, especially if you have a thriving garden! Cucumbers tend to grow in abundance, making home-canned pickles a perfect way to preserve the harvest. These Garlic Jalapeño Dill Pickles are bursting with bold, zesty flavor and just the right amount of heat. The best part? You can easily customize the spice level by adjusting the number of jalapeños to suit your family’s taste. Be sure to follow proper home canning guidelines to ensure safety—check out the USDA’s recommendations for best practices. Happy canning!
Ingredients
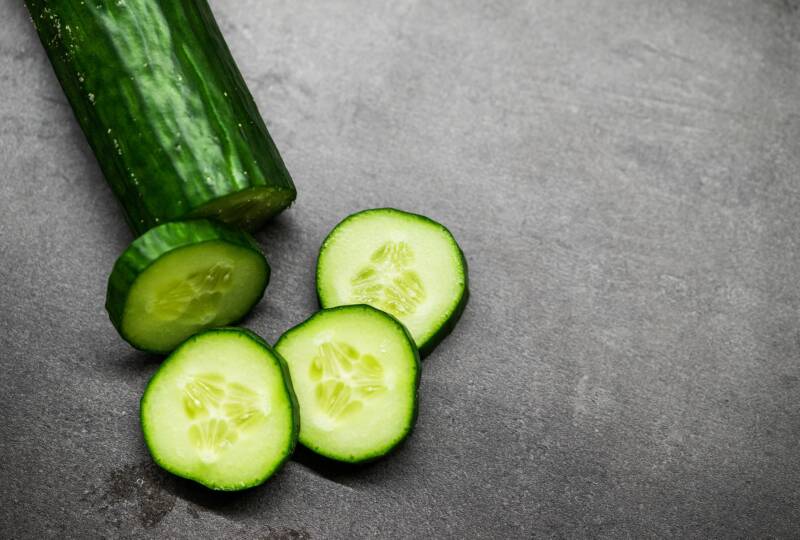
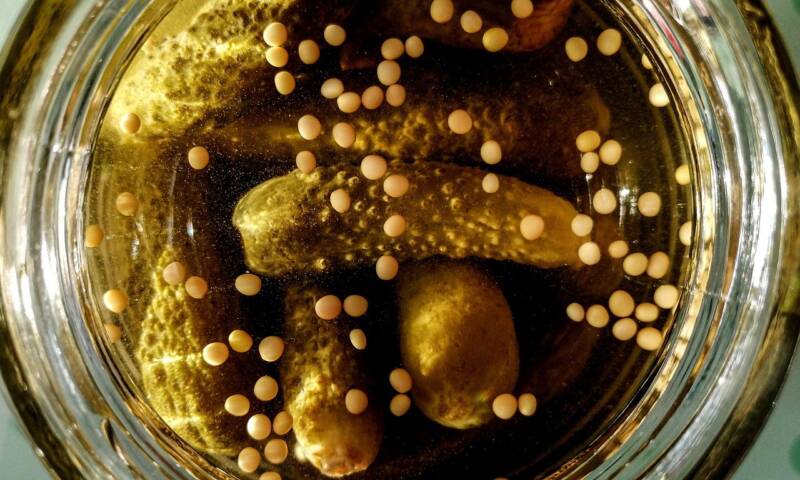
6 lbs. cucumbers, washed, dried and sliced
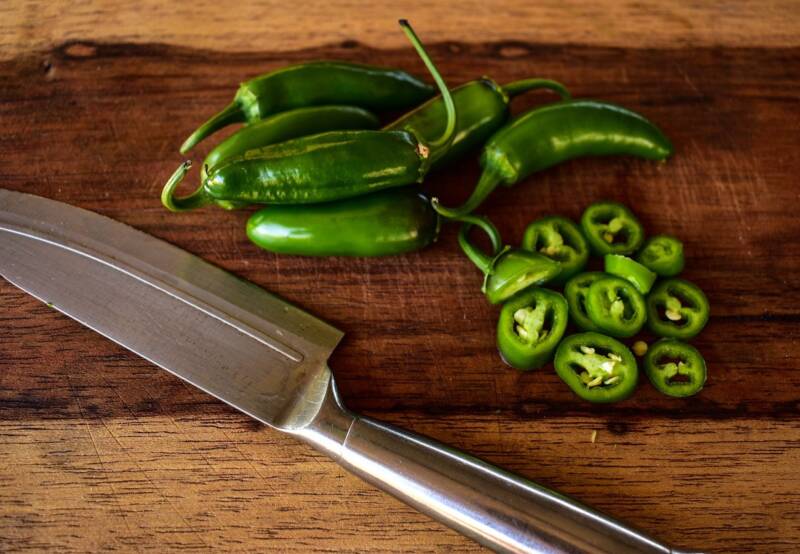
9 jalapenos, sliced
18 cloves garlic, sliced
11 sprigs fresh dill
9 cups water
2 cups white vinegar
1/2 cup pickling salt + 1 Tbsp. per jar
1 tsp. black peppercorns per jar
1 tsp. mustard seeds per jar
Water Bath Canner
Instructions
Make sure you sterilize your jars before you begin. I will cold pack today, so give the jars time to cool completely before packing them. You can do this a day ahead.

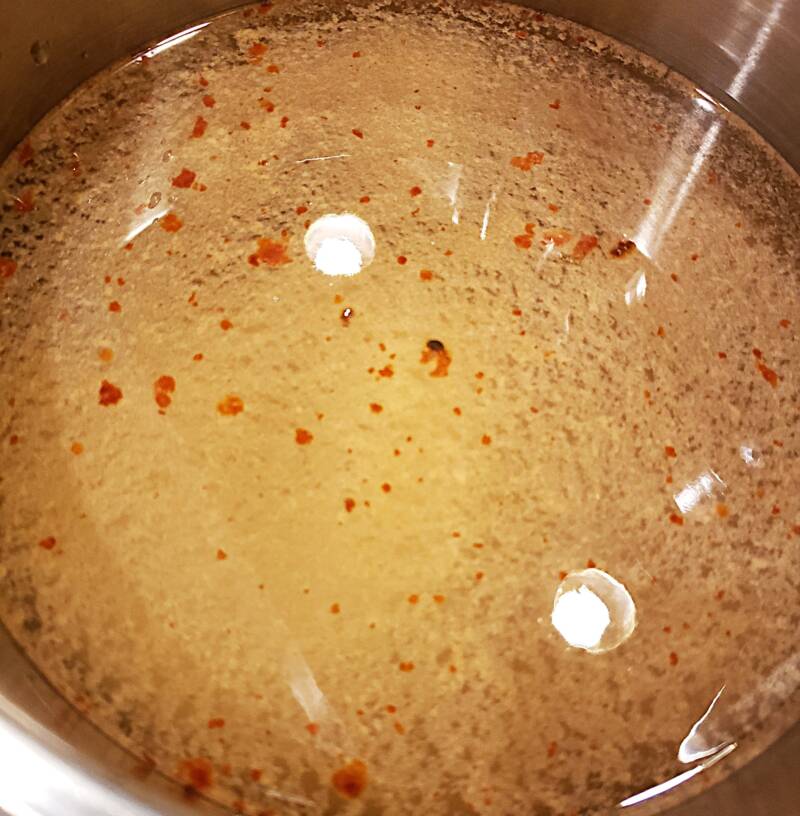
I also make the brine the day before so it has time to cool. In a pot, combine the water, vinegar, and pickling salt to a boil. Turn off the heat and cool overnight.
Wash the cucumbers. Cut off and dispose of the ends. Slice the cucumbers into rounds.

Wash the jalapenos and cut off the tops. Slice them into rounds.
Pack the jars with cucumber slices, 1-2 springs of fresh dill, and as many slices of garlic and jalapeno as you can stand. The pickles will have a pronounced garlic flavor if you add more garlic. If you have more jalapeno slices, the pickles will be spicier.
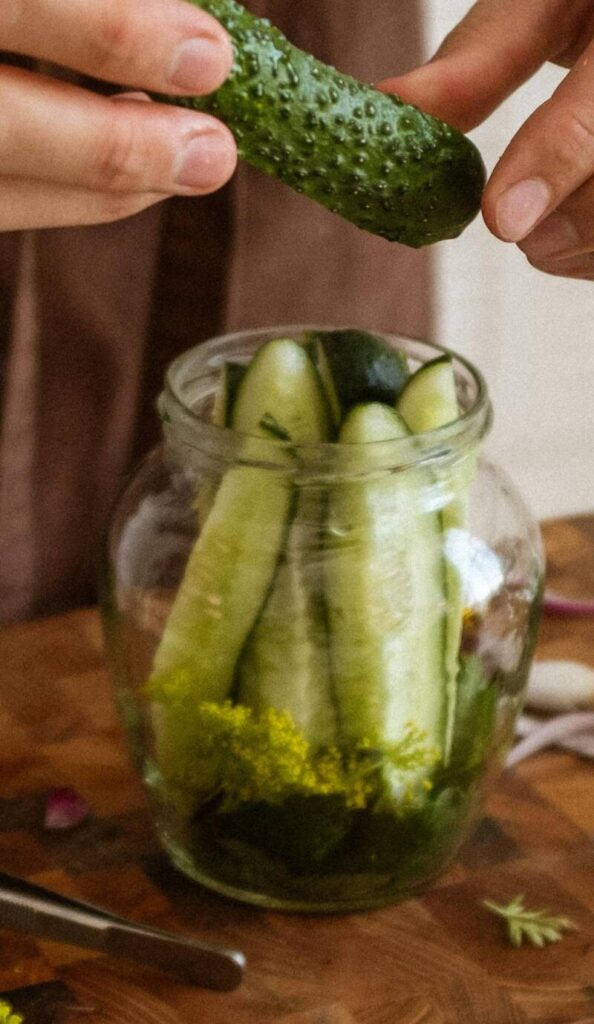
Pour the brine over the cucumbers, leaving 1/4″ headspace.
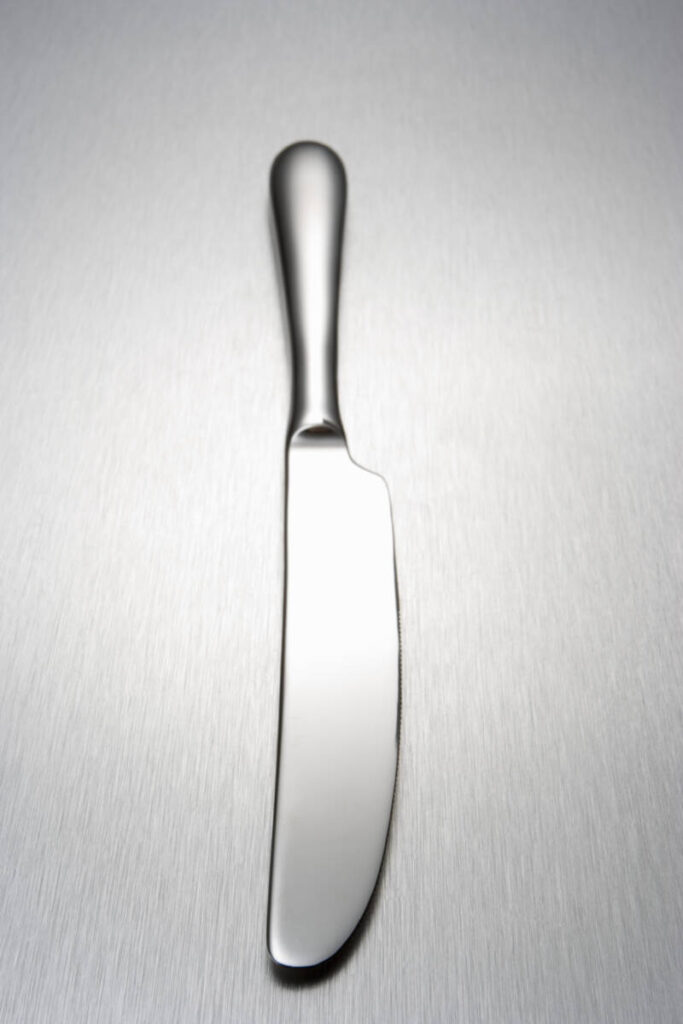
Debubble the jars with a debubblng tool, skewer or flat knife. Adjust the liquid after debubbling.

Wipe the rims to remove debris and ensure a good seal. Clean them with a paper towel or cloth and vinegar or water. Place the lids and rims on the jars. The rims should be only fingertip-tight; do not crank them. Place the jars in the water bath canner and fill them with water, leaving 2″ of water over the tops of the jars.

Bring the water to a rolling boil, which may take a while. Secure the lid to the canner and process according to your altitude. In my case, the time is 10 minutes. When processing is complete, remove the canning lid and set it askew on top of the canner to cool before removing the jars. This will prevent temperature shock to the jars.
Place the jars on some dry towels to cool completely. Listen for and count the pings of the lids. You can also tap the lids for sound differences. If any jars do not seal properly, place them in the refrigerator to enjoy over the next week.

If you like this recipe, you may also like the following recipes: